A Complete Minecraft Tutorial: How to Survive the First Night
Welcome to Minecraft (And the Tutorial)
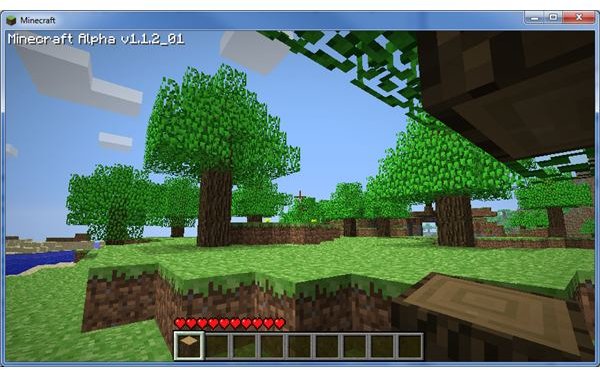
Looks nice, doesn’t it? In all likelihood the randomly generated world you’ve spawned in is colored in attractive shades of blue, green and brown – or you might have spawned in a pristine winter world. In any case, the world likely doesn’t look as terrifying as people have suggested.
Ah, but it will. Come night the monsters will spawn. They want your blood. If you want any chance of surviving you will have to create a shelter that can last the night.
This tutorial will guide you through your first night in Minecraft. Surviving your first night is very much like surviving an intense tutorial – once you make it through you’ll know many of the basic things you need to know to thrive in the game.
Note this tutorial focuses on single player survival mode – there are no monsters in single player creative, so no worry there!
Collecting Wood
When night comes, monsters spawn across the land. The monsters are attracted to darkness and can spawn anywhere that the land is shrouded in shadow. This is an important fact to note. If you build a shelter, but you don’t light it, there is a chance that monsters will spawn inside.
To light your shelter you need torches. Torches are made from wooden sticks and coal. Let’s focus on the sticks first.
Sticks are made of wood. You don’t have any tools for chopping wood yet, but don’t worry – you can collect wood by punching it for awhile. No, really. Go find a tree and start hitting it. Eventually you will destroy the wood block and a miniature wood block will pop out. Your character collects that automatically when you’re nearby. Minecraft’s physics are basic, so the tree won’t fall over if you collect wood blocks at the base first.
Keep punching trees until you have ten pieces of wood (The wood you collected appears automatically in the hotbar at the bottom of the screen). Once you have ten, press I to open your inventory.
Crafting A Workbench and Your First Tools
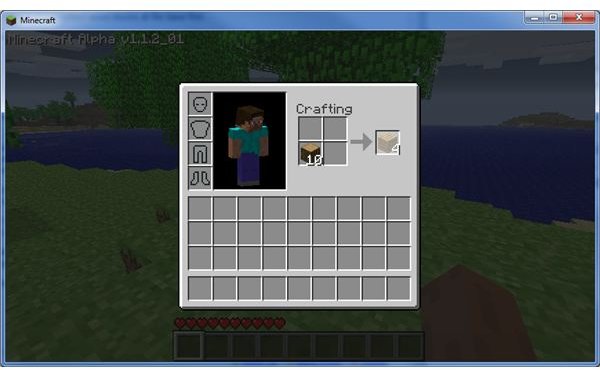
Pick up your stack of wood blocks in your inventory and then place it in the small, two-by-two portion of your inventory labeled crafting. This is where you turn raw materials into other, more useful stuff.
Let’s first turn all of our available wood into wood planks. This is very easy. Just take your entire stack and place it into the crating area. When you do this the result of what you’ve placed into the crafting area will appear just to the right. In this case you’ll see that one wood block makes four wood planks. Awesome! But we need more than four. In fact, we want to convert all of our wood into wood planks now.
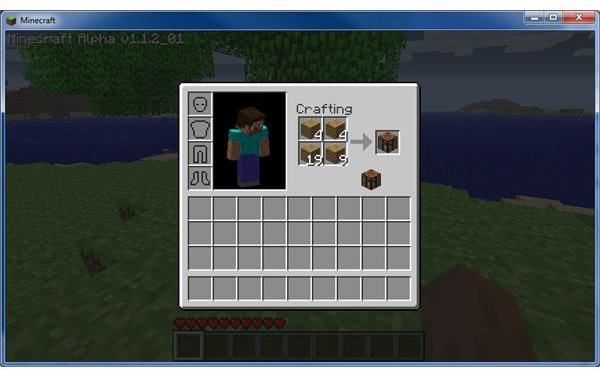
Once you have a big stack of planks take four of them and place them into your two-by-two crafting area. They shouldn’t be stacked – place one plank in each square. The result will be a workbench. Take this and put it into your hotbar. Now press I again to exit your inventory.
You can’t use a workbench until it is on the ground, so place it now. Don’t worry – we can take it with us later. Now right-click on the workbench. Your inventory will open again, but now you have a three-by-three crafting area. Awesome again!
This crafting area is essential for making tools. In fact, we’ll make one now – but first we need wood sticks. Two of them, in fact. To make the sticks you need to arrange two planks so that one is on top of the other. This will generate four wood sticks.
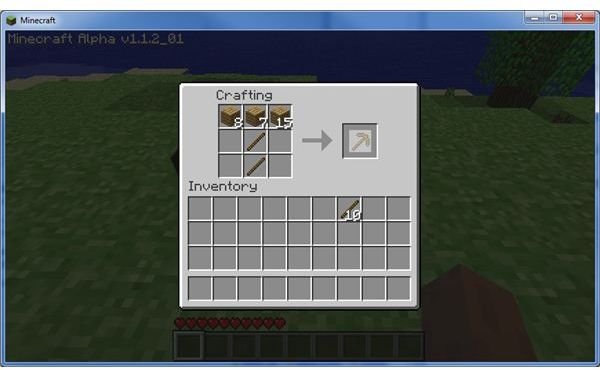
Now we need to make our first tool – a wooden mining pick. You can do this by arranging three wood planks a the top of the workbench crafting area and then two wood sticks below them so that a T pattern is formed. A wooden pickaxe will appear. Put it onto your hotbar.
Finding and Mining Coal
Now you have a mining tool. It isn’t a very good one, but it’s better than nothing.
By now the sun is probably at high noon. It will start to set within the next few minutes, and you need torches before it does. You need two things to make torches – wooden sticks and coal. You have the sticks. But you need some coal.
Coal can be found anywhere there is stone including both caves and cliffs walls. Now it is time to start exploring. Before you do, however, punch your workbench until the block is destroyed. You can now pick up the workbench and take it with you.
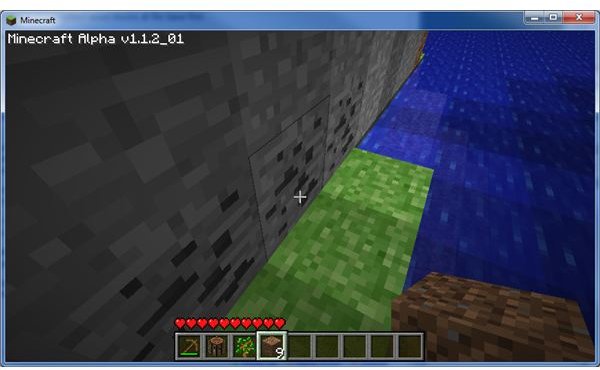
If you can already see a cave from your starting position, go ahead and check it out. If you can’t, start exploring. Look for caves both in the ground and in the sides of any hills and mountains nearby. Coal looks like normal gray rock with black flecks inside. Be careful not to mistake Coal for gravel, a silver-gray-black block that is confusing because it often drops flint, which looks like coal but is light gray in color instead of black.
Once you’ve found coal, mine it will your wooden pick. You only need a few pieces of coal – let’s say four. In fact, you can get by fine with just one if you must. Just keep an eye on the sun. If is has moved to a point halfway between high noon and the horizon it is time to build or find a shelter.
Making Torches and a Shelter
The easiest way to build a shelter for the first night is to build a small room out of dirt. Dirt is usually everywhere – any tile that has grass on it turns into a dirt block when you destroy it. You can use your pick for this (or you could build a shovel) but there isn’t much point. Colleting dirt is easy with your bare hands. Just bunch some grass tiles until you’ve collected about 40 dirt blocks.
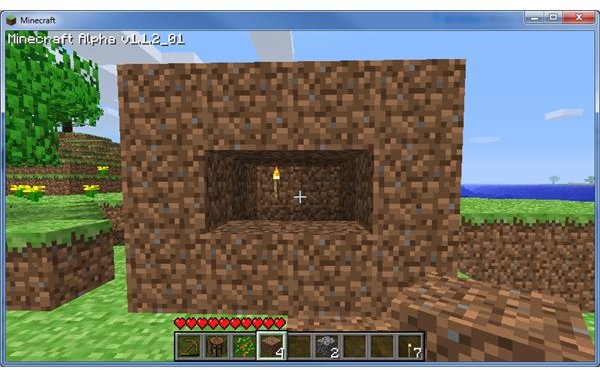
Now lay the blocks out into a shelter. I suggest building a simple shelter four blocks wide on a side and three blocks tall. Leave a gap in one wall so you can see outside. Before you lay down the last few tiles, jump inside. You can make doors in Minecraft, but I don’t think you should worry about that just yet.
Once you’re inside your shelter, open your inventory and make some torches. You can do this by placing one hunk of coal directly on top of one stick. This will generate four torches. You only need to place one in your small shelter to light it.
Surviving the Night
Now you have a shelter and light. You can survive the night. There is a small chance that a monster might come close, but they’ll generally ignore you if you’re inside your shelter. Just watch out for skeletons – they shoot arrows, so they could hit you inside your shelter by shooting through your window.
Many people simply twiddle their thumbs while waiting for the sun to return and burn away the monster. But you don’t have to. The next part of this guide will discuss what you should be doing while the night passes.
This post is part of the series: The Complete Minecraft Tutorial
Minecraft is a wonderful game that lets you be very creative. It is possible to build huge towers and also explore deep caves. However, you also have to survive an onslaught of monsters. This tutorial will help you learn how to survive and thrive in the game world.