Nancy Drew Danger by Design Walkthrough Part 4

Little Known Info
Nancy Drew Danger by Design is a PC adventure mystery game created by Her Interactive. It’s patterned after the life and adventures of teen super sleuth, Nancy Drew. This time, Nancy is shifted off to Paris to investigate Minette and her mysterious actions. Tricky and definitely mind-boggling, Nancy Drew Danger by Design will keep players on their toes, and with the help of this walkthrough you’ll be able to solve the case in no time! Check out parts one, two, and three, in case you missed them.
The Dodo Box
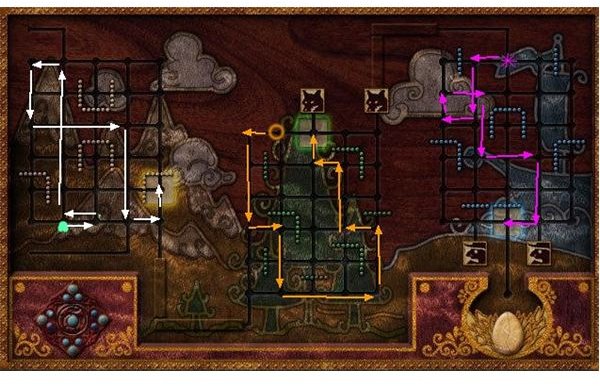
Being left alone at work has it advantages of course, and one of them is that you’ll be able to sneak around where you’re not really supposed to be. Remember the Dodo Box? Time to open it! Go to the stand where the box is placed and select it. You’ll be met with a puzzle. The goal is to get the Dodo past all the predators and to the bottom right corner of the puzzle safely. Move the dodo around with the buttons on the bottom left of your screen. Use the white partitions to safely maneuver around your predators. When you’re done with all the three predators, click on the button to open the box and read the letters. (Images below will provide a guide to the Dodo movements and yes, Senior and Junior levels mean a varied game style)
Oh yeah, and reading the letters will clue you in on the fact that Heather has written one of the letters herself. You can confront her about it later. Once you’re done with that, pick up the phone and call the zippy line which will in turn let you call Lynn Manrique, the American Historian. She’ll talk to you about Noisette and her paramour Hans, which leads Nancy to wonder if Hans was related to Dieter.
Dodo Box
The First Secret
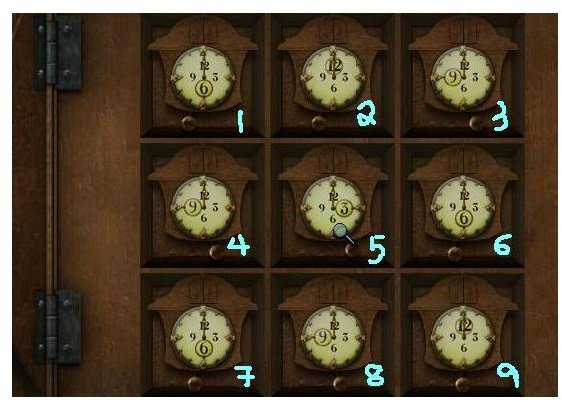
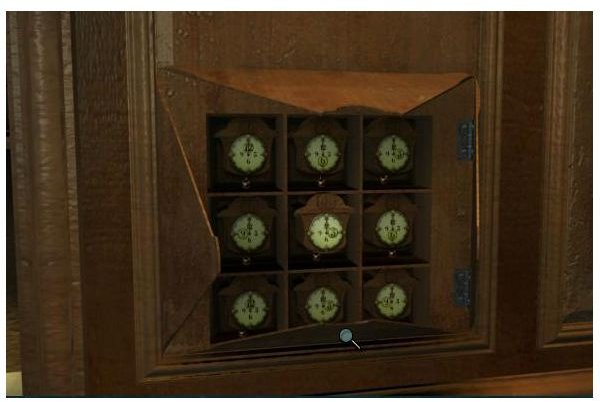
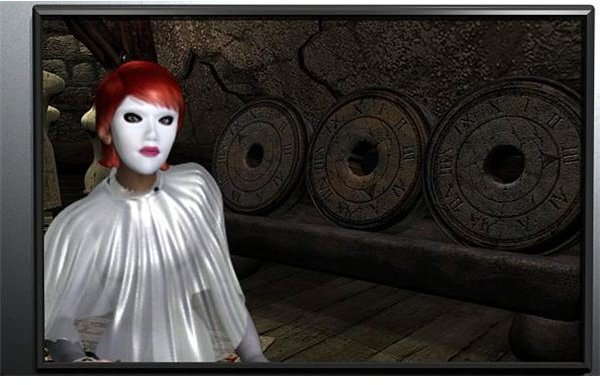
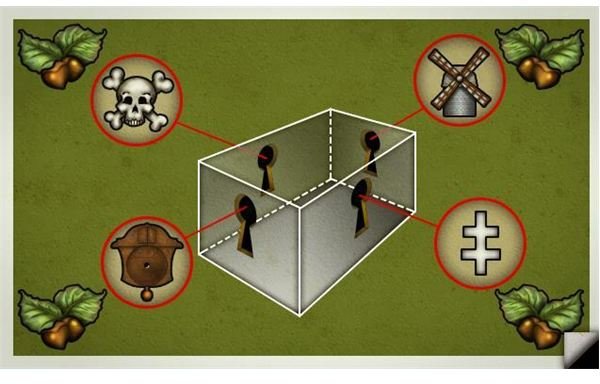
When you’re done, go to Pont Neuf and release the roaches before going back to the office and confronting Heather and asking her whatever questions you might want to ask. Then onwards to Rue de Bac to talk to Dieter. He’ll explain to you that his great uncle was indeed Noisette’s lover and that the watch can be placed on the impression besides the bookshelf, revealing a secret panel. Dieter was right when he said you’d go cuckoo! This is a timed puzzle so you have to hurry, the goal is to make all the clocks pointing to the number 3. The photo will reveal the order of the clocks that you need to turn and the combination for it is as follow: Junior 8-1-4-7-9-6 and Senior 8-7-4-1-4-7-6
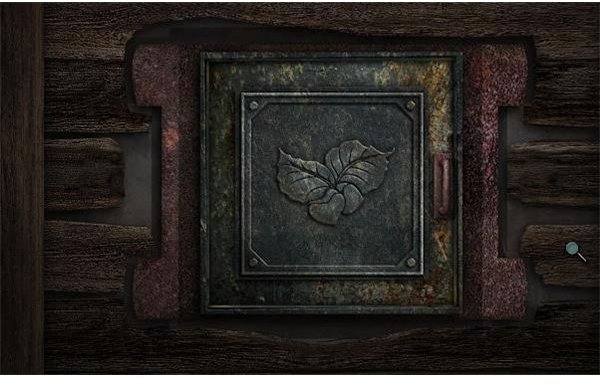
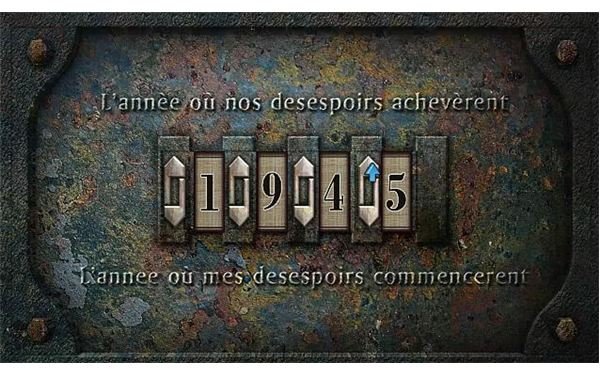
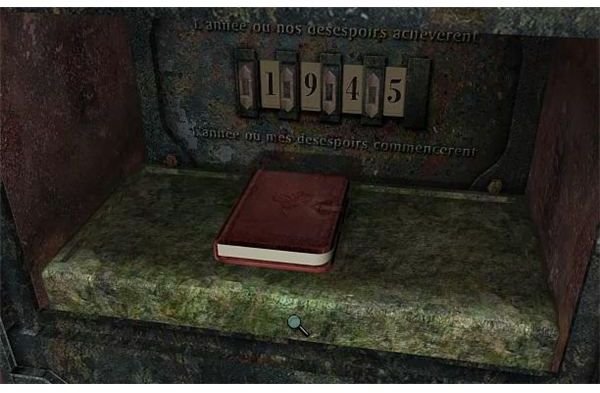
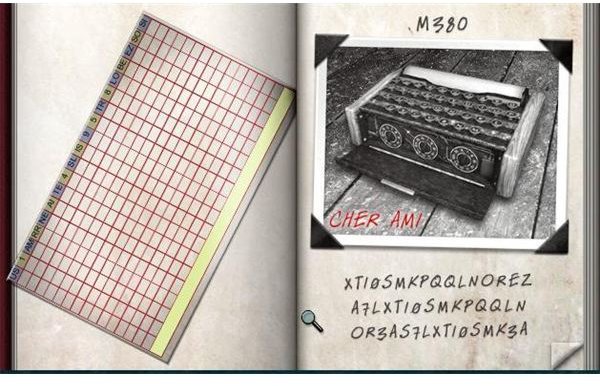
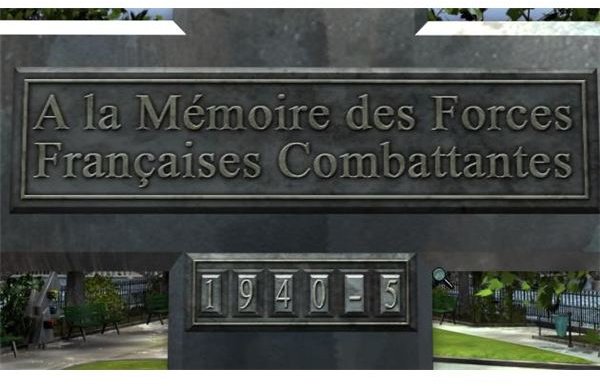
The solved puzzle will open a passageway behind the bookshelf leading to a locked safe. Before going on to the safe, take out your digital camera and take a photo of the spider by the wall. Then open the safe which will reveal a puzzle: The year our despair ended is the year my despair began The answer to this riddle is 1945, the end of the war and the beginning of Noisette’s trouble. Opening the safe reveals a secret book with a graph, a cipher and a letter from the French Resistance.
The First Passageway
Stock Photos
Head back out and try to talk to Dieter again but he’ll still be unavailable. He’ll help you however, if you take stock photos for him. The list is in French and will do you no good.
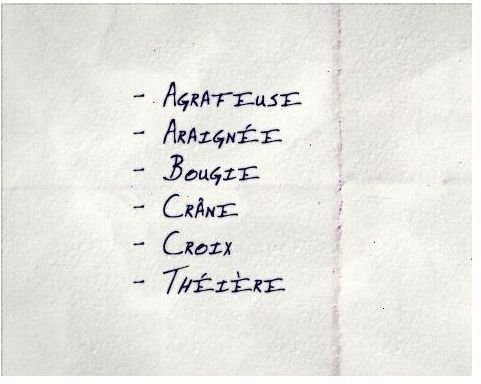
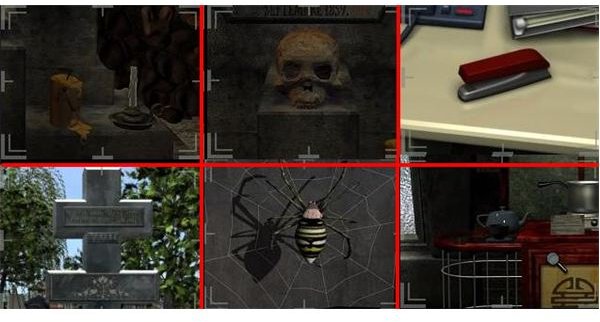
Now head to Pont Neuf and buy the French-English Dictionary as well as the Code Book from Malika and Manchard respectively. You’ll be able to get the Decoder if you give Marchand a bottle of Mouton Fouette 1968( we’ll get that later). With the dictionary, translate all the words in the list and take photos of what you need which are: spider, stapler, candle, skull, cross and teapot. The spider you already got from the Rue de Bac passageway. The teapot and the stapler will be in the office and the candle and cross will be at the Madelaine Cemetery.
Stock Photos
Getting Closer and Closer
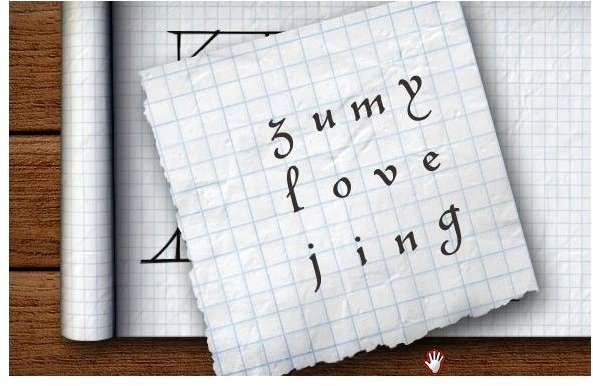
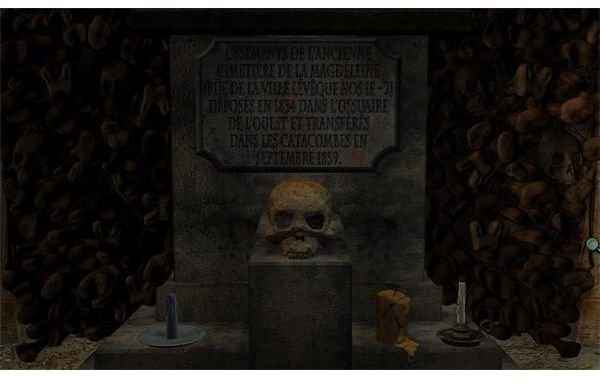
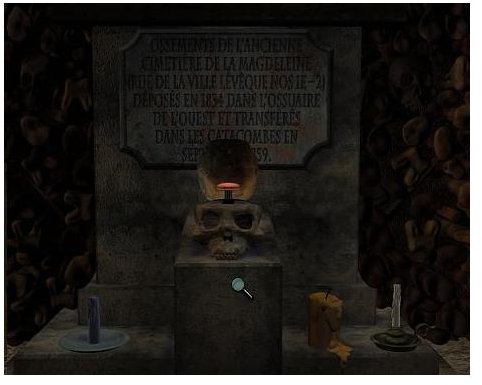
Where is the Madelaine Cemetery perhaps? Call Zu up and ask him about the symbol on the safe - he’ll explain it to you in exchange for JJ Ling’s autograph. So take your photos and go home - talk to JJ Ling and trick her into writing “Zu My Love Jing” on the Hangman game. Then head on over to the cemetary and place the letter on the skull. Then head to the office and call Zu about it. He’ll tell you that the symbol is a hazelnut or a noisette and that there is a place in the catacombs that he’s seen the symbol as well. He’ll also tell you that to get to that place, you’ll need a wetsuit. So get to Pont Neuf and buy a wetsuit from Marchand.
The Cropped Photo with Jean Mi
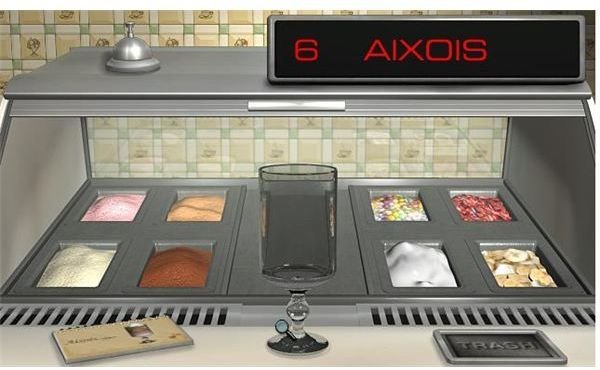


Then head to Hotel De Ville and get Jean Mi to give you an uncropped photo of Minette’s studio. You’ll have to make parfaits for the photo. So just follow the instructions. Included are the photos for the parfaits that you’ll be making. You need to look at the picture book at the parfait station whenever you make one. A wrong creation means you have to start all over again. Once you’re done, Jean Mi will give you the photo, note that the gears’ arrows point to IX, V and III
Getting the Bottle for Marchand
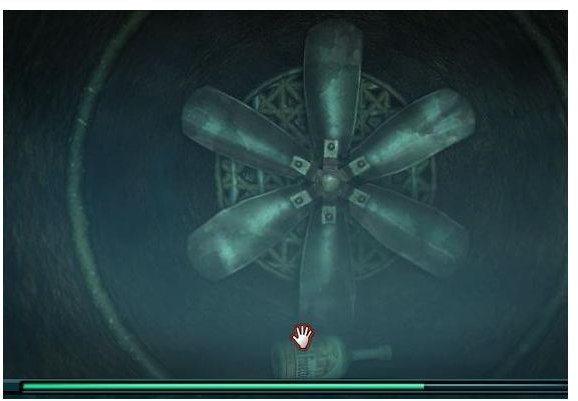
You’ll need a wet suit (get one from Manchard) and maneuver your way around the tunnels, avoiding the Tunnel Police. Get around the tunnels and acquire the bottle of Mouton from the Company and trade it for the decoder. Keep to the sides, until you finally reach a sort of sewer. Swim underneath it and remember that you have a limited pocket of air.
To get to the fan you need to dive under the tunnel and head to the rightmost tunnel. Enter that tunnel and turn to your right to grab the bottle resting by the fan.
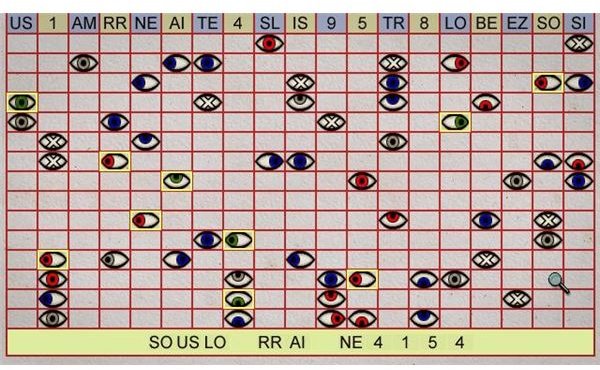
Now leave and head back to surface and on to Dieter’s office. Give him the photos he asks for and then talk to him. He’ll give you a strange photo with eyes on the front and a diagram on the back. Take the graph from the code book and place it on the photo to see the table. Remember the words of the historian, red left green. Now click on all the red eyes looking left and all the green eyes to reveal Sous Lorraine 4154.
This post is part of the series: Nancy Drew Danger by Design Walkthrough
Check out this part by part guide for the adventure mystery game, Nancy Drew Danger by Design and be prepared to breeze through the game like it was nothing! Solve puzzles, uncover plots and decipher codes as you try to make out the mystery behind the world of fashion and wartime espionage!