Voyage Century Walkthrough For Beginners
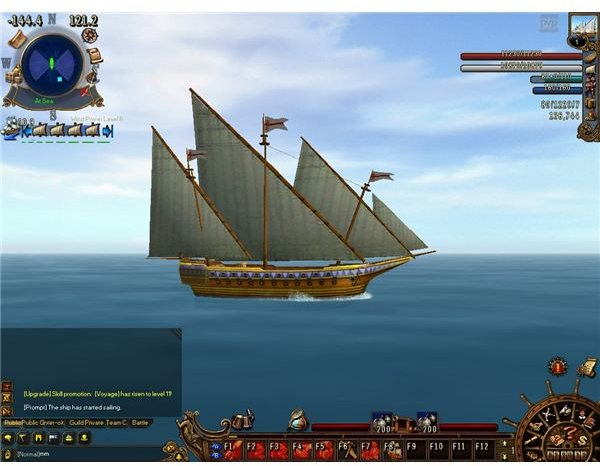
Learning the basics
This is a basic series of Voyage Century walkthroughs for beginners that will help new players get out to the open seas in their very own ship. The way the game is set up it’s unnecessary to do any of the following quests and you can skip them all completely and do whatever you want. However, it’s highly recommended that you finish them all because of the money, experience, and bonus gear that is handed out to help you level up faster.
When starting out for the first time, the first thing you need to do is pick a class by talking with an NPC named Langer. He is located right near the docks where you first start out and should have a question mark floating over his head. If you can’t find him, press Ctrl+M to open the map and his name should appear on the screen to show you his location; pressing the ALT key will also show the names of all NPCs, monsters, and items close by in the area as well.
Another way to find a NPC is to click their name in the quest log (If you have the quest in there) and your character will automatically path-find their way to the selected NPC. The quest log’s “seeking system” works with items and monsters as well – so long as it’s close by and within the same port – this is something very useful that you should keep in mind while playing to help you find what you’re looking for, or when doing quests.
Picking A Class
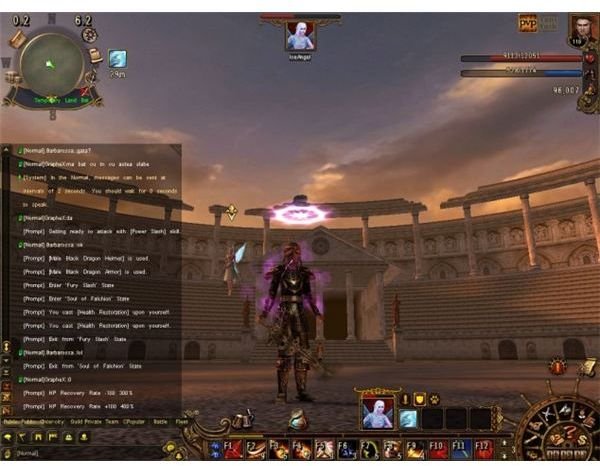
When you talk with Langer for the first time, a screen will pop up asking you what class you would like to be. There are a total of five different classes to choose from: Royal military officer, Imperial guardian, Caribbean pirate, Treasure hunter, and the Armed businessman. Each class is unique with their own skills and abilities, so choose wisely.
This Voyage Century beginner guide will walk you through the steps of each quest to give you an idea of what to expect from the game, and will help lead you all the way up to getting out to the open seas and beyond. It will also point out some helpful tips to earn you a bit of extra experience points and land you a few extra silver coins in your pocket along the way. The starting quests are broken down into “Quest storylines”, so the guide will inform you on how to finish each one, and tell you what they hand out. After completing one of these storylines, you will move on to the next one. They are all fairly easy shouldn’t prove to be much of a problem for getting them done so you can make ready to set sail in your very own boat.
Starting The Game
-Quest storyline No.1: The birth of a new Hero-
EXP gained: 200
Money gained: 8000
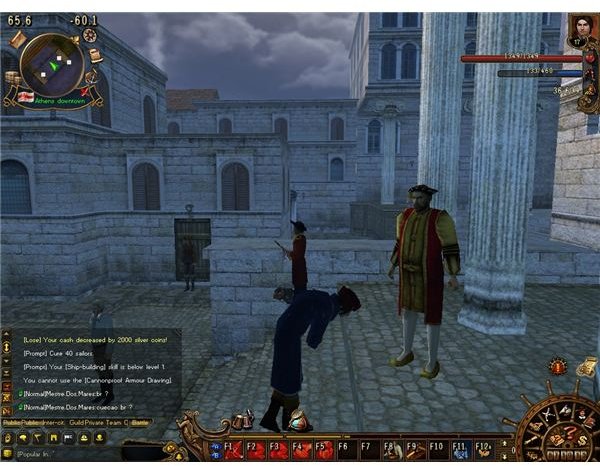
After choosing the character class that you think is best suited for your play-style, talk with the NPC named Langer again to get started on your first mission. After talking with him, he will ask you to choose a weapon. It might be wise to pick a weapon that matches your class, as it will come in handy for completing quests later on and it also as special stats attached to make your class deal more damage or unleash critical attacks. Choosing a weapon that has no affinity to your class will result in not being able to use it right away, and you will then have to go buy a special skill to wield the weapon. Picking a weapon that sounds cool but is out of your class will just waste your money, and in the long run will also waste a lot of your time (You can always buy the skill and weapon later on to train in a secondary fighting style, if you plan to branch your character out of the standard class settings).
After choosing your weapon from Langer, you will complete the quest, and move on to the next step. Make sure to equip all the armor and weapons that is given to you as you progress early on in the game in order to stay efficient and relevant in the questing areas, much like the quest items and stat enhancers in Allods Online.
A Look At Skills
-Quest storyline No.2: Skill master-
EXP gained: 500
Other gained: New skill
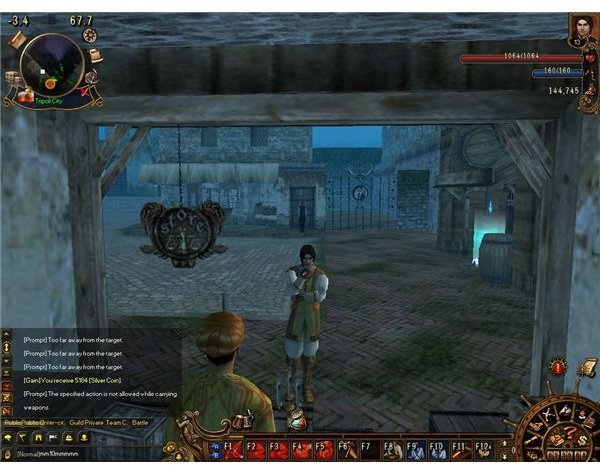
Langer will tell you to go talk with the skill master in the next area. Head to Athens city and talk with the skill tutor standing next to the door when you enter. Remember; if you can’t find a NPC in town, just look on the map or use the auto seek function by clicking on the person’s name in the quest log. He will ask you to choose a new skill from the list, choose the one that best suits you. After picking the skills that you wish to use, go find the NPC named Verne and talk with him. He shouldn’t be far from the tutor, in fact, he is standing right behind him. After talking with Verne, he will ask you for a small favor. This will complete the current quest, and you will be able to move on to the next task.
Doing A Few Favors
-Quest storyline No.3: A favor-
EXP gained: 1500
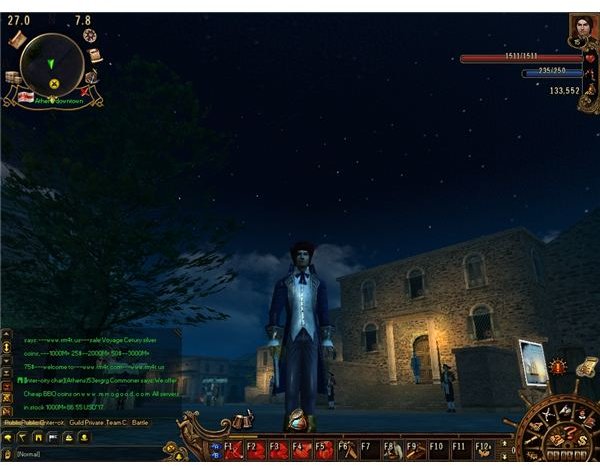
Verne will ask you to go to the tavern and talk with the boss that runs the place. This quest is pretty short because all you basically have to do is click on the guy that runs the Tavern. Make your way to the Northeast part of town and go inside the tavern. If you can’t find the building, Auto seek the Tavern boss with the quest log and talk with the him to complete the quest. After completing the last part you’re all set and ready to move on to the next section.
This concludes part 1 of the Voyage Century beginner walkthrough. For more information on the game be sure to visit the Official Website. For more MMO walkthroughs and guides be sure to check them out right here at Bright Hub.
This post is part of the series: Voyage Century Beginner Guides
A series of guides to help beginners get acquainted with the quests and classes in Voyage Century.
