Learn some of the tips and tricks the pros use to dominate their opponents. With these tools you will be able take out some of your most troublesome rivals. Some of the tips and tricks are new, learn them and use them to your advantage before your opponents do.
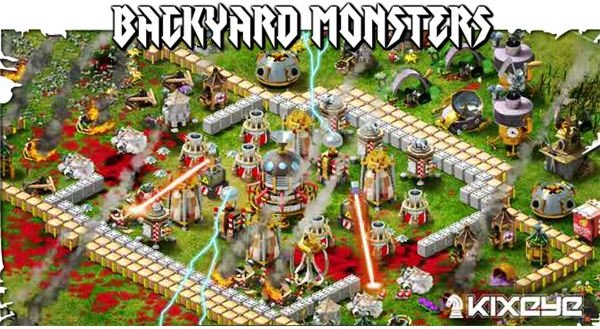
Tips and Tricks
Over time others and I have come across some Backyard Monsters tips and tricks that have proved to be invaluable to most players. These tactics are commonly used by veteran players. If you have often found yourself overwhelmed by another player or wondered just how they got through all your defenses, this is the guide for you.
In this guide we will go over some strategies such as bunker busting or baiting, blocking drop zones, using the attacking monsters targets of choice and the path they take against themselves. Other tips such as which targets are important, removing the player’s champion, and how to delay retaliation from your opponents. Learn how to get yourself into protection mode using an ally to give yourself ample time to rebuild your army, upgrade defenses and your buildings.
Blocking Drop Zones
Blocking drop zones for enemy units is a common tactic used by many players. The idea behind it is to maximize the distance between the attacking units and your main base. This gives your towers and other defenses more time to deal as much damage as they can before your opponent’s units reach buildings you want protected. It is also good to use as filler for unused space, allowing some protection and land mine placement while you wait for resources or upgrades to expand your base. The strategy requires extra blocks spaced out in empty areas denying your opponent to drop monsters near your base.
Defensive A.I.
The idea behind Defensive A.I. is to use the attacking unit’s specified targeting priority against itself. By putting specific buildings around your base, you can lure attacking units to those less important structures. This gives your towers and other defenses more time to take them out. Make sure that the structures that you put outside of the base area, within range of your towers.
Another way to use Defensive A.I. is through the use of of walls as a sort of maze. Most units, besides the Eye-ra, will try to find the nearest opening to its designated target. This allows you to set up traps and choke points with the use of towers and land mines to maximize the amount of invading units killed. A properly set up base will be designed with multiple entry points, each one containing the proper defenses. This will deter most players from attacking, sending them looking for a more poorly defended base, such as the standard square bases with only one wall.
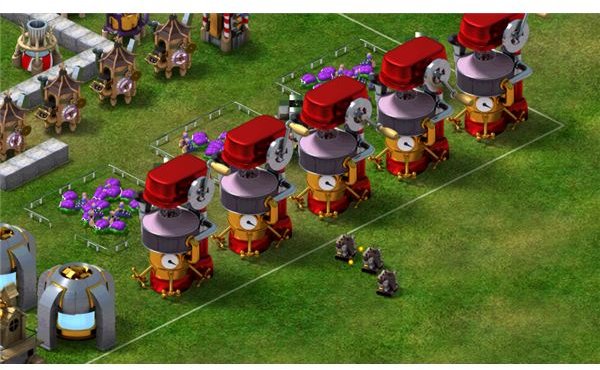
Bunker Busting or Baiting
Bunker Busting or Bunker Baiting is a great trick used by advanced players to take out bunkers filled with massive amounts of devastating defensive units. The two most commonly used monsters in bunkers are D.A.V.E and Eye-ra.
Taking out a bunker filled with multiple D.A.V.E units can be tricky. First, you will need several low cost, high health units like the Octo-ooze or the Ichi. You will also need a few Eye-ra yourself. Use enough high health units so that all the D.A.V.E units have time to pile up, then drop an Eye-ra nearby. Once your cheap units are destroyed, the defending units should be piled up and will start going for the Eye-ra. With good timing, one Eye-ra can take out the entire contents of the bunker.
Eye-ra are often used in bunkers because of their ability to quickly deal with large groups of invading units or high health monsters such as the D.A.V.E unit. To clear out these bunkers it is best to build a large amount of very low cost units. You will want the unit not to take up much space in your housing as well as being able to possibly take a hit from a lower level tower. The troublesome part is that the Eye-ra move fast and will destroy your recently deployed Octo-ooze one at a time. You must have enough to repeat the process until the bunker is empty.
Good timing and placement are key to clearing out bunkers with the ways listed above. With practice, you will get better over time. Opponents that seemed impossible to destroy before are now going to become a bit easier. Another upside to clearing the two types of units listed above out of bunkers is that they are high in cost and take a long time to build to refill the bunkers. Most players will want to rebuild their defenses and refill their bunkers before retaliating. This gives you ample time to rebuild your army.
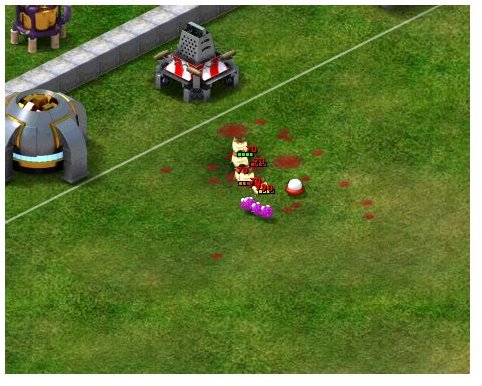
Delaying Retaliation
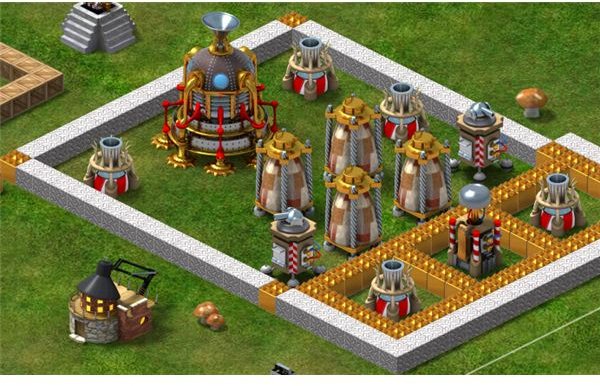
A common mistake, as shown in the image, is to have your monster housing outside the range of most defenses. Early on in levels, it is not as much of a problem, as both the housing and the units can be rebuilt and replaced rather quickly. Later, as higher end units such as the Zafreeti , D.A.V.E, and Teratorn become used, you will want your housing protected. It is important to protect them to allow for quicker retaliation and to avoid devastating losses in both the amount of goo and time used to fill the housing.
The idea of delaying retaliation is simple. When attacking your opponent, you will want to save a few units. Once any defenses around their housing area are removed, drop an attacking unit near it to destroy it. This becomes even easier if the player has made the mistake of placing their monster housing on the outskirts of their base. With only a few units, you will be able to destroy their housing, killing off any units they have stored. If they wish to retaliate, now they will have to rebuild their army.
Ally Assisted Protection Mode
Ally assisted protection mode is often looked down upon or considered cheating by many. The problem is that it is also used by many players. I will leave the morality of it to the player, whether they wish to use it or not. To get protection mode from an ally requires at least one ally. If the level difference is too much for either of you to attack each other, the lower level player will have to attack the higher one. This gives them a retaliation point for each time they are attacked. They may only attack the lower level player once for each point.
Usually, it will take the player four attacks to put the other in protection mode. This is the maximum number of attacks allowed where a unit is deployed in the attack. The idea is not to cause any damage to the ally, so building a few Pokey is all that is necessary. Once you have several pokey, simply attack the ally you wish to give protection mode to. Drop one Pokey each time, once it is killed hit the end attack button. Repeat until the player is in protection mode. If used too often, the time of protection given will be a lot shorter. This can be reset with time or by attacking another player.
Champion vs Champion - Selective Targeting
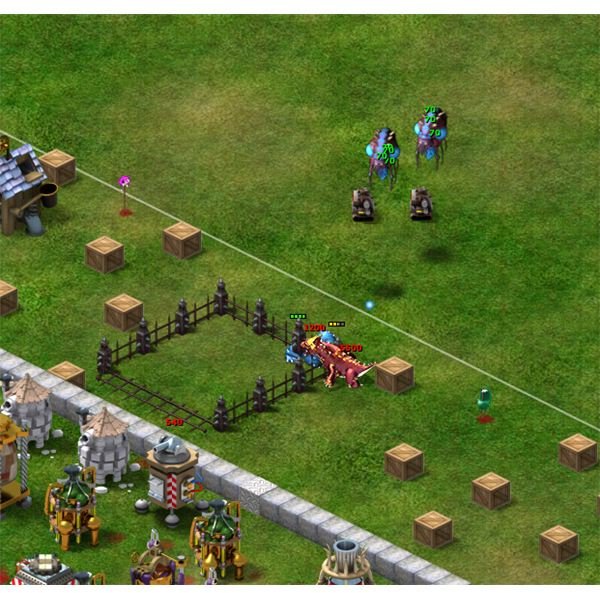
Champions can be the most devastating defensive unit when attacking your opponent. The two champions Drull and Gorgo are the easier of the three to deal with, as they can be attacked by land and air units. The champion Formor is the most difficult one to take out.
The best way to take out another player’s champion is to lure it out with a slow moving unit, dropped out of the range of defense towers and near the champion cage. Once the champion is out to attack your bait, drop your champion and a Zafreeti or two to keep your champion alive. When dealing with Formor you will want to use upgraded D.A.V.E units with ranged attack capabilities and a few Zafreeti to keep them alive. Depending on the level difference of your champions you may need more offensive units to defeat the opposing champion.
References
Source: Author’s own experience.
All images taken from Backyard Monsters on Facebook