Your games of Lego Indiana Jones for the Nintendo Wii will go a lot more smoothly if you know what to expect. Our Wii Lego Indiana Jones walkthrough will talk you through each stage of the game, explaining goals and some of the hazards you’ll encounter.
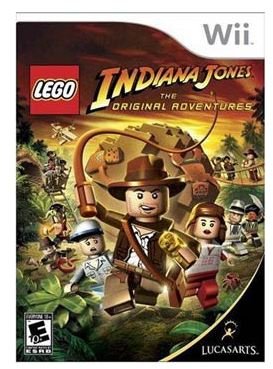
Welcome to Lego Indiana Jones
Lego Indiana Jones: The Original Adventure may have the look of a kid-friendly “casual” title, but don’t be fooled. The game’s cartoonish exterior masks some of the more challenging gameplay available in an E-rated game. Taking players through scenes from all three of the original Indiana Jones movies, the game offers fast-paced reflex-testing challenges and some more taxing, resource-hunting sequences. Our Nintendo Wii Lego Indiana Jones walkthrough will talk you through each level of the game, letting you know what to expect and how to overcome some of the more notable challenges.
Chapter 1: Peru to Cairo
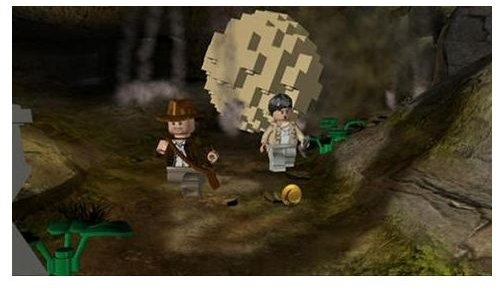
Wii Lego Indiana Jones begins in The Lost Temple, the setting for the first movie’s memorable opening scene. The game eases you into the action by teaching the controls as you go, so take it slowly and follow the prescribed route to make it through without breaking a sweat. Whip everything in this opening level: many breakable objects contain collectibles that will increase your score.
The next level, Into the Mountains, starts off with an unclear objective: never stated, is to get the door on the left of the room open. Search the ladder in the room for a sparkling portion of floor, then stand on this portion to have Marion climb the nearby ladder and retrieve the key. After this, go slowly as the mountains hide a lot of bottomless pits. Keep to the path and don’t rely on leaps of faith.
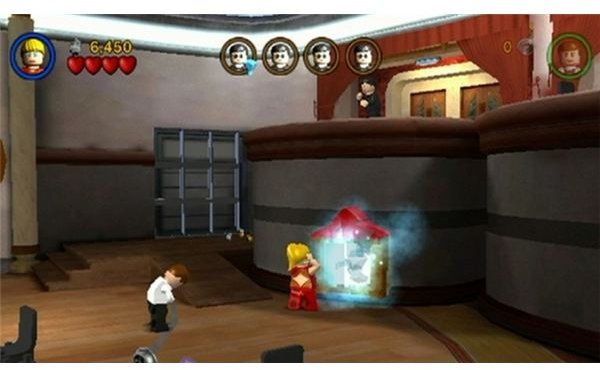
Whenever you see a banana in the next stage, City of Danger, pick it up. Whenever you see a monkey, feed it a banana. While pursued by Nazis through a crowded marketplace, many of the level’s essential items and helpful hints are provided by feeding bananas to the marketplace’s monkeys.
Chapter 1: Hunting the Lost Ark
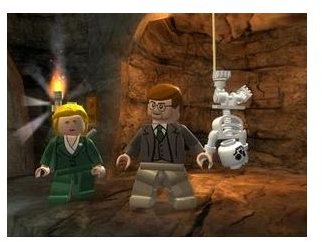
The next level, The Well of Souls, introduces the idea that different characters have different incapacitating fears. The first character’s fear to be revealed is Indy’s: whenever he sees snakes, he’ll seize up and become immovable. When this happens, switch to Sallah to clear the way. Remember this for later: if a character is paralyzed by fear, another will be available to progress.

The key actions in Pursuing the Ark almost all revolve around hopping into or onto vehicles: motorcycles, a plane cockpit, the tops of trucks. When in doubt, find a vehicle.
The final level of this chapter, Opening the Ark, is a battle against Indy’s nemesis, Belloq. He’s fast on his feet and will hide throughout the arena: whenever he picks a new hiding spot, look nearby to find a switch or platform that will allow you to pursue and defeat him.
Chapter 2: Shanghai to Pankot
Our Wii Lego Indiana Jones walkthrough continues with Temple of Doom. The challenge in the first level, Shanghai Showdown, is that an incapacitated Indy can’t pull much of the weight. Use Willie Scott to do most of the moving about, and restrict Indy’s role to grabbing gangsters when they come close enough, then using Willie to hunt through their dropped items for the antidote that’ll restore Indy to normal.
Pankot Secret sees you journeying to Pankot Palace, home of the Temple of Doom. The most useful allies in Pankot Secrets are the elephants. Not only can they help you cross otherwise-impassible mud flows, but their tusks can break down walls to further help you along. When in doubt, look for an elephant!
The key to The Temple of Kali is finding recessed or jutting spots in the surroundings: footholds, handholds and switches will help you progress and thwart enemies’ plans to sacrifice Willie to the demoness. Once you reach a point where the switches won’t work, punch a guard to grab their turban - this will let you activate those stubborn switches.
Chapter 2: Escaping the Temple
The action jumps forward for the nest level, Free the Slaves. Indy has been taken prisoner by the Thuggees and must fight a towering brute to escape, free his friends and the children captured by the cult. The key to Free the Slaves is freeing Short Round as soon as possible. While Indy has to do the bulk of the work, Shorty can defeat the magician that heals the area’s big boss. Once Shorty’s taken out the healer, just punch the boss until his health bar wears down.
Escape the Mines is a fast-paced reflex test with your characters racing out of the Temple on mine carts: switch between characters with C, with one minecarts housing Indy and the other carrying Willie and Shorty. Keep an eye out for hazards and use your whip and shovel to knock them down before your characters come to harm.
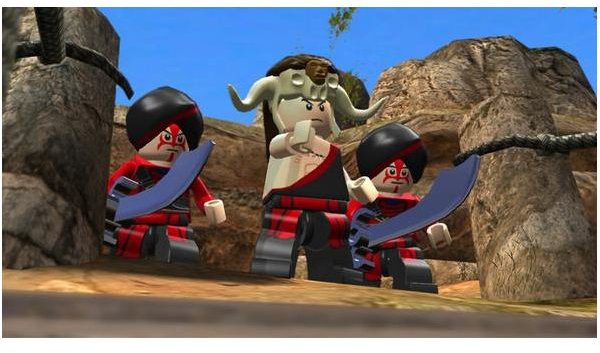
In the first portion of Battle on the Bridge, see how long you can outrun the pursuing water for a big bonus. Once you get swept away (which you will eventually, and that’s ok), make your way to the final fight with Mola Ram. The key is to defeat a sword-bearing henchman as soon as possible: These guys’ blades will allow you to chop the bridge and defeat the priest.
Chapter 3: Venice to Germany
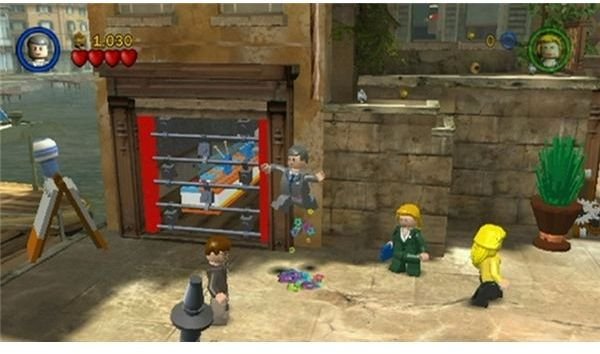
For the third chapter of Lego Indiana Jones - and our walkthrough for the Wii version of the game - the story jumps straight to the Venice portion of the third movie, challenging you to find a crusader’s tomb beneath the city. Make your way to the Library and arrange the boxes throughout the area into an X in the center of the floor. This will allow you access to the catacombs: this may look like a labyrinth, but just keep moving forward to find the tomb.
Castle Rescue, located deep within Nazi-occupied Germany, is a big destructive smash-up: smash enemies to save your father, smash walls to find switches and secret areas, and smash anything else that looks like it might be breakable to find secret bonuses and health-ups after all that fighting.
Motorcycle Escape is another fast chase level. Keep an eye on the road ahead as you race away from pursuing Nazis. There’s always the option to jump off your bike - to avoid drops or fight enemies slowing you down - but if you’re quick, you can stay aboard all the way to the final confrontation with a battery of heavy guns.
Chapter 3: Finishing the Last Crusade
Our heroes try to escape Germany on a Zeppelin, but it won’t be that easy: the Nazis are in hot pursuit and intend on causing Trouble in the Sky. The main challenge in this level actually doesn’t come until your plane has been downed and enemies continue to attack from above. Remember the movie: the key is to search for flocks of seagulls hiding in the beach area. Go near them to have them attack your enemies.
Desert Ambush, which follows the “tank chase” sequence of the movie, is another long boss fight against a fleeing antagonist: Colonel Vogel. Dispatch the henchmen he sends after you and keep on his tail and you’ll eventually run him down, at which point the ensuing punch-up is no big challenge.
Temple of the Grail relies heavily on familiarity with the movies. If you don’t know what lettered stones to stand on, jump onto the letters I-E-H-O-V-A. When in doubt, walk straight off a ledge: there are disguised passages here. For the final puzzle, choosing the right grail, go for the least shiny cup on the wall and take it to the nearby fountain. This final choice will win you the game!