Odds are you have heard about the simple looking but endlessly addictive game of Minecraft. Skins for the game can effortlessly be changed once you have them, but let’s see how to go about making and applying of your very own!
Don’t Fear the Creeper
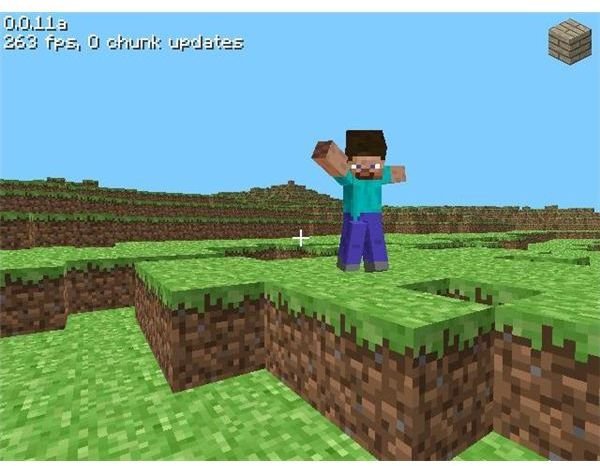
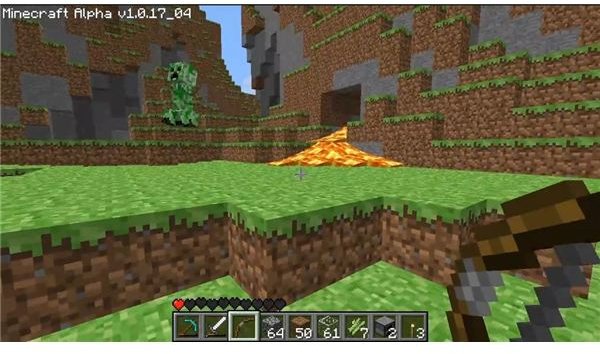
Though it has been in development for years, Minecraft has recently exploded like a Creeper across the web. With its popularity reaching Unstoppable Force levels, players are venturing out online to play with their friends or to make new acquaintances. With nearly endless options of creation and terraforming in this sandbox survival title, the demand for personalized Minecraft skins is no surprise. If you can stake your claim on a mountain and turn a volcano into your homestead, why not change the look of the very character responsible for that monumental task?
Editing Minecraft Skins: Step One
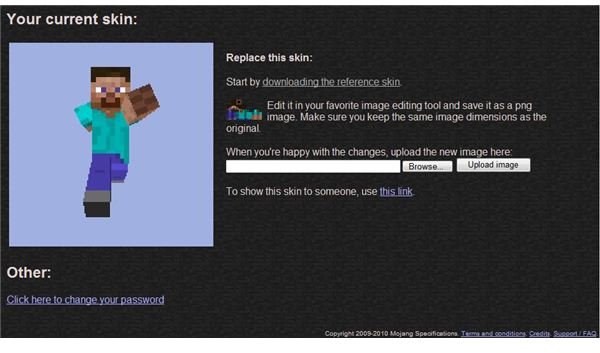
You purchased Minecraft already, right? If not, you are one of the few who have yet to, and you will also be unable to edit your skin. Currently the game is half-off and you should jump at the offer, but whenever you choose to buy the game and have that all sorted out, load up the Minecraft.net website and log in. From there go to Preferences, (it is on the top bar next to Community) and the skin page will load up. You can see the current design of your in game character, which for most people will be the default “Blue shirt guy” running about happily wailing his arms like Jim Carrey in a comedy. If you can see the small image to the right of the animated character, it’s about 32 by 64 pixels and on high resolution monitors it can vanish nearly entirely. That tiny image is the skin for every new player in the game, and one we are aiming to change.
Editing Minecraft Skins: Step Two
This is where you have two options, though one is clearly the winner by comparison. Your first option is to download that almost invisibly small image and edit it in Paint or whatever image editing software you prefer. Change the textures around a bit, save it, then upload it back to the website. (More on that at the end) It is very simple and anyone can do it on any computer that can run Minecraft in the first place. This was originally the only option and most people shied away from the effort, but thankfully there is an expanded second option.
Skin Edit is a program made specifically for editing Minecraft skins. It works the same way as using image editing software to get your skin file to look the way you want, but with the added bonus of being able to see the skin wrapped to a character in real-time. It has many color options to choose from initially, with two other methods of fine-tuning your color swatches until you find the hue for you. You can even modify the helmet layer of the skin and attach all sorts of goofy items from top hats, monocles, anything you can think of. When you are finished, save the file and you are done.
Editing Minecraft Skins: The Final Blocky Step
If you chose to use Skin Edit or the slightly archaic Paint-like option, after you save the minuscule file you need to apply it to the game before you can see it in action. Log back into Minecraft ’s website and once again revisit the Preferences page. Click the Browse button and locate the image of the new skin you plan to sport in-game. Once you find it, select it and press Open, followed by the “Upload image” button. The page will refresh, showing your new skin in action and how you will now look online and in single player.
I hope this guide helped you out and if you have any finished skins you wish to brag about feel free to link to them in the comments section!