Hmm have you ever wondered…How do I turn my Nintendo DS into a music machine? Well there is certainly a way to make that happen, in a few simple steps. If you were wondering how can I turn my Nintendo DS into an Ipod this tutorial will have you bobbing your head, in no time !
If you have ever fiddled with the thought of trying to turn your Nintendo DS into an Ipod, look no further. It’s a very simple process, once you have all the parts in place. Let’s look at the list of items you will need to make your very first Ipod clone.
1. Of course you need your Nintendo DS
2. An R4 DS Adaptor and software drivers that will recognize the R4 DS Adaptor
3. An internet connection
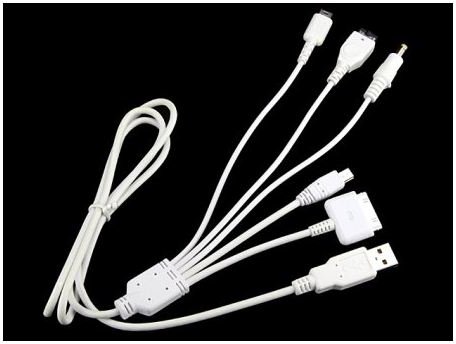
4. An SD card and an adaptor to hook up to your computer
5. Your favorite Mp3 songs saved to your PC
-
Now we are ready to get started, let’s take the R4 cartridge out of the DS, and also pull out the micro SD card from the R4, and insert it into an adaptor which will allow it to connect to your computer. You should see a folder appear on your desktop, once you have the SD card is hooked to the computer.
-
You need to install the appropiate files to make the SD card work. We need a music player software. Let’s download called “LMP-ng” . You want to pick the most stable version and then proceed to download to your desktop.
-
The newly installed drivers should find your SD card. Drag your Ipod folder unto the SD card. Pull out the SD card from the adaptor and put it back into your R4 cartridge, then insert the R4 cartridge back into your Nintendo DS console.
Advertisement -
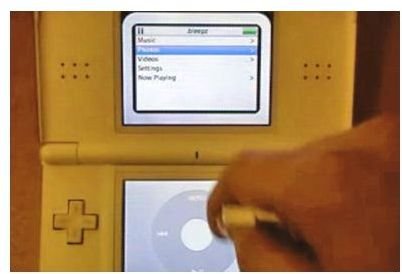
Now turn the DS on and pick the folder titled “IPOD”, a dialogue window will ask if you want to save the file, click “yes”, and then a duplicate Ipod icon will appear on both of the screens of your DS.
-
You will notice the top screen displaying, all the information such as Artists, Playlists, Favorites, similar to a Windows Media Player, and the lower screen will handle all of the functions to play the music.
-
There will be no music playing in the iPod, so now we must turn off the DS, and pull the SD card out of the R4 adaptor, once again and repeat the steps that we performed earlier, starting with hooking up the SD card to your computer.
-
Now we want to drag all of our mp3 music, from our PC into the iPod folder, that you created on the desktop. It’s not necessary to create any more folders, at this point. This will be our primary folder for all of your ipod music files, after the songs are installed, pull the SD card out of your computer and put it back into the R4 cartridge, in the same manner you did before and then put it back into your DS.
This is the through way of turning your nintendo DS into an Ipod. We are one step away from playing your virtual Nintendo DS iPod. Remember the lower screen on your DS, is the control panel. The controls on the lower screen will look similar to an traditional iPod. Don’t feel limited to using these controls only, you can also use the X button to go back to a prior screen, the Y and A buttons to roll through songs and the D to scroll through menus. Have fun with your new virtual Nintendo iPod clone!