Hector: Badge of Carnage starts off with a bit of a bang in “We Negotiate with Terrorists.” If you need some help with any parts of this new telltale adventure game, just look here for a full walkthrough with solutions to all of the puzzles.
The Jail Cell - Our Early Escape
Well, we start out inside a jail cell. If we’re going to answer the phone and get the update on the sniper, we’re going to need to get out of it. This means picking the lock of Hector’s current room. Note that one click just makes him look at something, two makes him interact with it.
Start out by looking around a bit. You should note that there’s something shiny in the grate, but you can’t pull it off yourself. Walk over to the poster, and double-click it to pull it down. Look inside the hole in the wall, and then grab the spoon out of it.
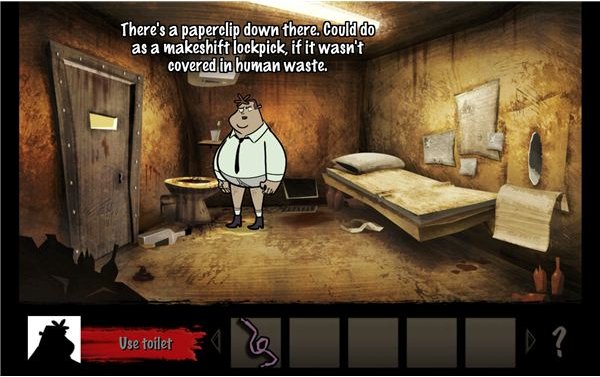
Use the spoon on the grate to pull it off, then reach inside to grab the still occupied shoe. Double-click the shoe in your inventory to dispose of the foot and shoe, and take the shoelace. Walk over to the toilet. Interact with it to get Hector to add a little liquid to the mess, and get a paperclip to float up a bit. Since Hector doesn’t exactly want to reach inside, he’ll need a fishing rod.
The best we can do is to lift up the mattress to find the condom. Combine this with the shoelace to make one very disturbing net. Use this to get the paperclip out of the toilet. Double-click the paperclip in your inventory to straighten it out into a lockpick, and then use it to open up the door. Walk out to the Reception Area to advance to the next section.
Leaving the Station
For now, we just need some trousers to get out of the police station. Hector won’t make much of a negotiator in his underwear. Walk up to the criminal handcuffed to the radiator and talk to him for a bit. The main point is to learn that he actually wants the charge to improve his street cred. Offer to charge him with indecent exposure and take his trousers as evidence. This will let you walk outside.
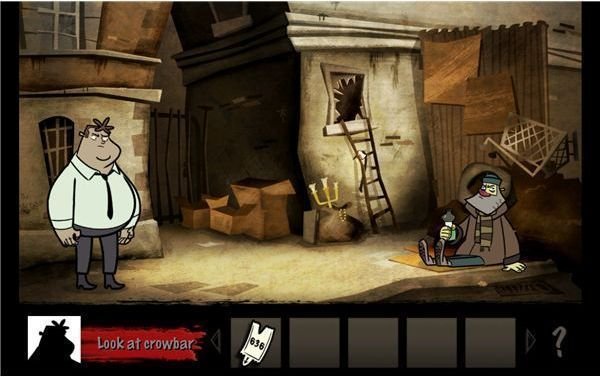
You now need the keys to your car, but they’re in the locked key locker. Go outside and talk to the girls if you want. There’s nothing on the corner, so just go to the alley (double-click the right side of the screen). Go ahead and talk to Tim while you’re here, then look around. There’s a crowbar hanging off of a ladder below the broken window, so grab it and go back inside.
Use the crowbar to pop open the lockbox, and take your keys. Use them on the car outside to realize that we’re not done yet. Double-click the car to look under the hood and see that you need a battery charge and a fan belt.
Fixing the Car
You can talk to Fatimah again, and now ask about repairing cars. Each of the three conversation pieces primarily serve to show off the garter belt she has. She wants 50 bucks for it though, so we need to come up with another idea. She really wants a customer, so we’ll have to help her. If you noticed, her biggest problem, according to Hector, is her breath. We need to find her some mouth wash.
Tim in the alley has some, and if you already talked to him you’ll know that he promised to trade if you found something else for him. Go back inside your jail cell and pick up the one unbroken bottle of whiskey. It’s empty, so you’ll need to fill it up with something. The answer is that pot of coffee in the reception area. Go out and fill it up, then give the bottle to Tim for a bit of a transformation. You can pick up the bottle of mouthwash afterwards. Give it to Fatima, then follow her into the alley after she gets her new client. You can pick up the garter off of the ground, and then walk away very quickly.
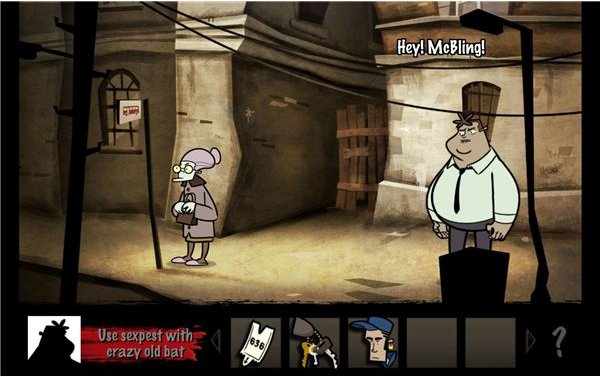
We now need to get a charge for the car battery. If you walk to the corner, you’ll find a crazy old woman. Approaching her will make her draw the tazer. Hector’s cat-like reflexes and self preservation won’t let himself get shocked with it, but there’s also no way to take it from her. We need some one to get tazed, someone with a lot of metal on them to carry the charge.
Go back to the station and use your keys on the criminal to uncuff him. He’ll get added to your inventory, and thankfully we’ve already got a crime in mind for him. And he’s got plenty of metal.
Use him on the crazy old woman at the bus stop to get a nice source for your battery. Walk back to the car and use him to jump it. Then just use the keys to leave the area.
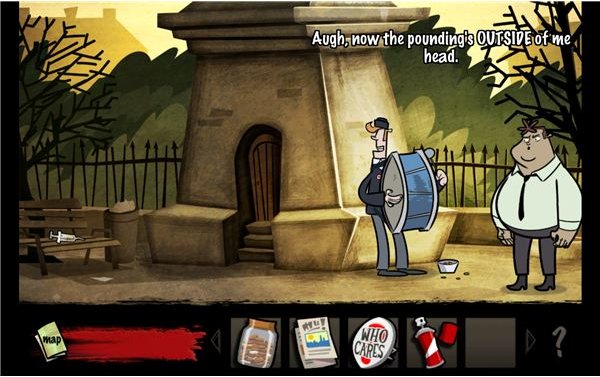
On the Scene
Talk to the terrorist and just say what you want. The main thing is to be polite and then unlock his demands. We’ve got three things to do to end this, in standard adventure game format.
Before you go anywhere, talk to Meeks. If you talk to him about the situation, you can ask why you can’t just pay the terrorist off. After a few jokes, you’ll wind up with a jar of pocket change. We’ll need that for a few puzzles ahead, so it’s good to get it now.
Cleaning the Park
We might as well start at the park. It’s the natural beginning point. Talk to the man at the tourism booth to start things up. You can talk to him to get a “Who Cares?” badge, and look at the pamphlets to fill up your inventory.
You can also talk to him to learn about his plans, and then offer to help. You need to start off with a donation, so click on the jar of pocket change and then click on him to hand over a few coins. Talk to him again to get the much more imposing figure of 25,000 pounds. At least we got some mints though.
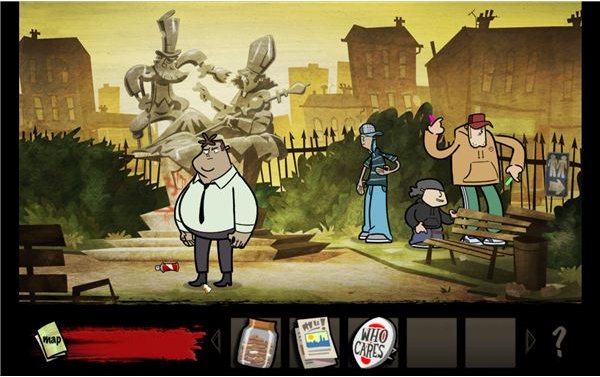
Go ahead into Cottage Park to find the three thugs. Short Stuff is in charge, so talk to him to learn that they’d love to do a bit of a rave, but they’re short on “party favors.” Luckily, if you’re paying attention, they have no idea what they’re actually doing. You can pass off the mints and get them to move along…slightly. Either way, you get a can of spray paint for your troubles.
That’s about all that we can do for now, but go ahead and look at the bishop’s staff. We’ll be back for it in a bit.
Fixing the Clock Tower - Part 1
Start by talking to the drummer. We’ll be back for him in a second. Grab the dirty needle on the bench, and then use it to open the door and go inside to find the Clocksmith.
Talk to the Clocksmith for a bit to learn his troubles. If you talk to him about his war stories, he’ll open up and actually tell you what’s wrong with the clock. It seems that it needs a new X and a new minute hand. I’d also suggest looking at the distillery while you’re here. There’s not much else you can do while he’s still down here looking at his video, so I suggest that you go to the porn store now.
The Exotico
Start by talking to Blind Ali, and then go inside. Go ahead and talk to Filthy Rich too, so that you can get your background info. There’s a tub of free lubricant on the counter, which (using adventure game logic) will come in useful later. There’s actually nothing else to get for now. We really just needed the lubricant for the next section. Walk over to the park.
Park

Just go into the park and grease the staff. You’ll be able to free it from the statue and secure your new minute hand. Walk back to the Clock Tower again.
Clock Tower
The Clocksmith will be somewhat appreciate of your gift of the minute hand, and he’ll now give you permission to go upstairs.
It’s time to shut down the Exotico, so turn the page to figure out how.
Exotico Prep Work
While you’re in the Clock Tower, you can get a little looting done.
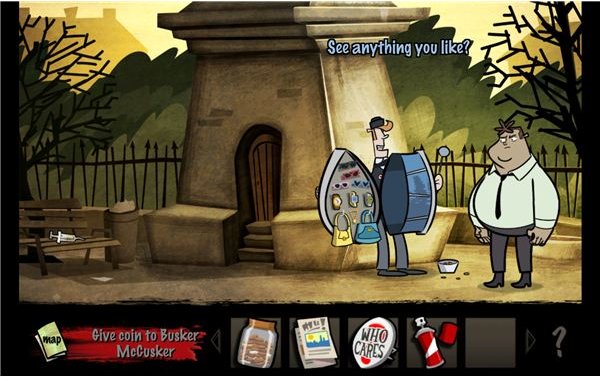
Go ahead and head up, then grab the power drill. You’ll also want to look out the window. If you do so, you should see the drummer outside getting a bit creative. It seems like his drum was off pitch because of his inventive fencing. Exit the Clock Tower and drop a penny in the cup. When he asks for suggests, ask for “Papa’s Got a Brand New Bag.” Once it plays out, you’ll wind up with a brand new blue handbag.
He’ll leave to start attaching the minute hand after you walk out, so you can now take the stuff from his room. You can now go back in and grab the tape from the VCR, and also grab the moonshine jug from his cupboard. It’s empty, so fill it up at the distillery before you go.
It’s time for some progress at the Exotico
If we’re going to get anywhere, we need to distract Filthy Rich, so take your tape and swap it out with the current one in the VCR. Go ahead and try to open the door to realize that you don’t have the door code. Walk back out, and talk to the long-time patron, Blind Ali. He knows the door code, but wants something a bit “tactile” in return…yeah. Go ahead in and ask for the Menage a Moi, to learn that you don’t have anywhere near enough in the change jar for it. So we need a bit more creative of an option. Remember, they have a good guarantee.
Go back to the park, and go to the statue. If you look to the right, you can venture to the public bathrooms. Kick the addict into the Menage a Moi box to add him to your inventory (the box won’t actually disappear, but it should be in your inventory). While you’re here, also go into the bathroom to hear the first part of a deal. Leave and then come back after the man leaves. Walk into the stall to learn about a deal for 25,000 pounds. We’ll need a red designer handbag (which we can already make) and a “distinctive” hairstyle though.
More on that later.
Shutting Down the Exotico
Blind Ali isn’t going to fall for this poor of an imitation, but, we can certainly file a complaint for this poor product. Put the addict in the box on the counter to file for an exchange. Filthy Rich will comply, and you’ll be able to give Ali what he wants in exchange for the door code.
Now, let’s try this again. Swap the tapes and use the door code to get into the back office.
The laser field is the really tricky part. You’ll need to look to the right, identify the switch and then flip it to shut off the field.
Go up the steps to enter Rich’s office.
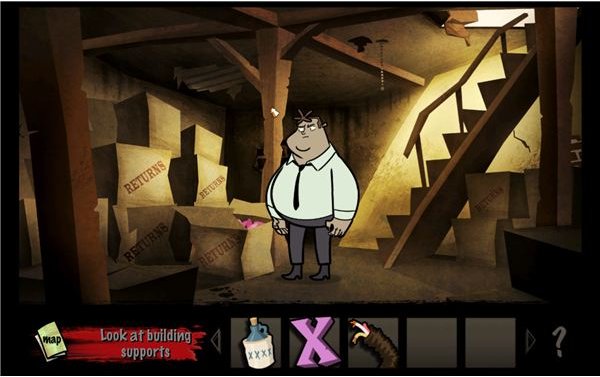
First thing’s first, take the power drill and use it on the window to drop the X down into the street. The hidden papers, ledger and envelope are all red herrings. You can get a wig from behind the picture on the left, but that’s about it. The desk and computer are clean too. Well, the basement is just begging to be searched. Walk out to the street, and pick up the X for the Clocksmith, then go down the newly opened delivery hatch to enter the Exotico’s basement.
Grab the frayed cable, then examine the light bulb and the open box of returned items. Plug the cable into the empty socket to jury rig a charge, then throw the Clocksmith’s moonshine onto the weakened support beam. The light switch is now your detonator. Pull the switch to take out the Exotica permanently.
Note that if you forgot to get the wig, it’ll be sitting in the street.
The Clock and the Money

It’s time for some final touches to wrap up the other puzzles.
First, deliver the X to the Clocksmith, who’s now on the upper level of the Clock Tower, to finish up that section too.
Now it’s just time for the money. Go into the park. Combine the red spraypaint, with the blue designer bag to make the red designer bag that you need. Then combine the wig with the bag to make your disguise. Double-click it while you’re outside the public restrooms to put it on. This will trigger the exchange.
Talk to them for a bit about “the thing.” The key to breaking the cycle is to tell them that you have it, which makes them question how you fit it in the bag. From that point, you should be able to start telling them that you didn’t bring it with you. Just follow the line and you’ll be able to get the cash.
Give the briefcase full of cash to the tourist rep to complete the set.
If you’re done with it all, you’ll automatically go to the hostage situation. Watch the final scene, and then close it out.
References
All Screenshots from Hector: Badge of Carnage - Episode 1.
All information based off of a normal playthrough