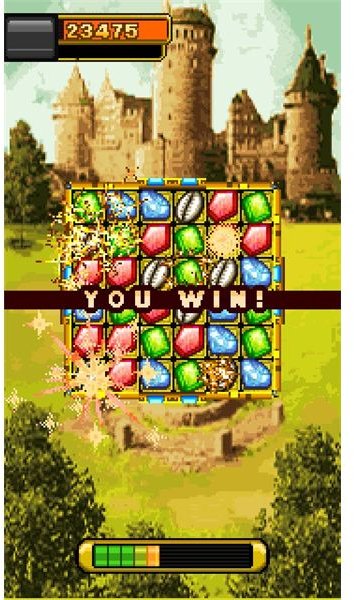
Jewel Quest Heritage, the fourth in the series of Jewel Quest games, produces new, exciting methods of game play with an unlockable expert mode for completion. Getting there is a battle if you struggle with a certain mode, so read on to learn how to beat that level you can’t seem to conquer.
Jewel Quest Basics
Jewel Quest Heritage is a bit different than its predecessor. While Jewel Quest III required you to complete levels in a set order, you have more flexibility in this version since you can jump from one person on the family tree to another, as long as you have the puzzle pieces. Every time you conquer a level, you receive a puzzle piece which you use to construct a face on the tree. Once you have the face completed, you unlock access to the section. In basic Jewel Quest Heritage Walkthrough fashion, let’s start at the bottom of the tree, literally.
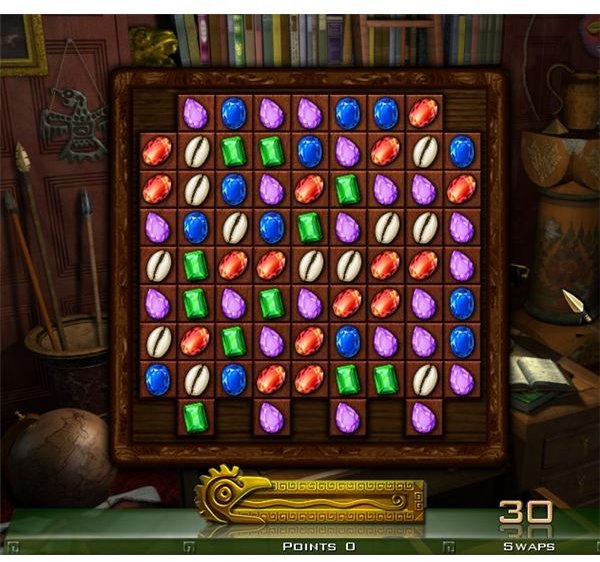
Classic Mode
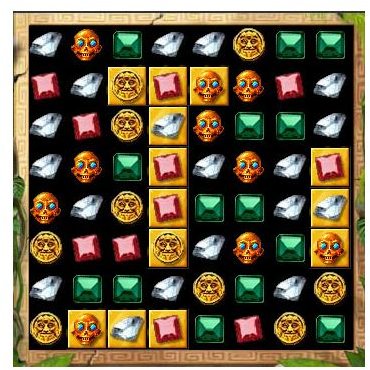
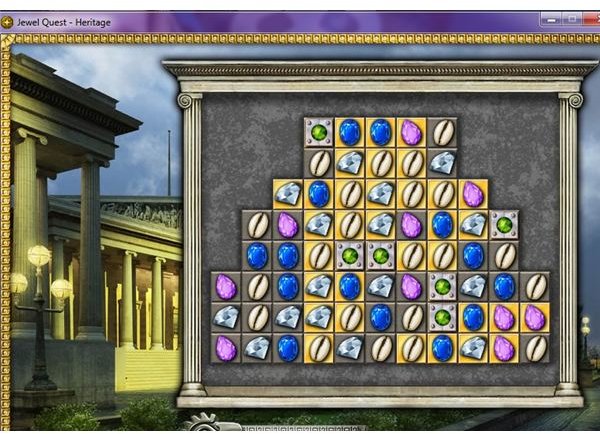
Rupert Pack is the first member of the tree to tackle. He starts with 5 classic jewels to trade. The strategies for traditional jewel quest apply here, always start from the bottom and in small spaces if possible. Falling jewels will frequently turn the upper regions to gold without any additional effort on your part. Continue to swap jewels until the board is completely gold.
Swaps Mode
Swaps mode is a variation of classic mode. Instead of unlimited swaps, you are given a certain number of swaps to turn the board to gold. In swaps mode, you can make exchanges with jewels even if they do not make a match of three. Plan ahead, start at the bottom and do not make unnecessary swaps.
Gold Coin Specials
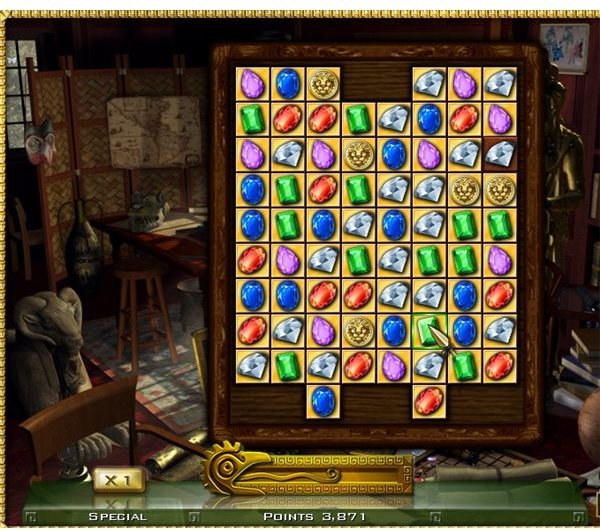
Specials are in the form of coins. If you match three coins, you get a special which will turn any square gold. This is especially useful for those troublesome spots you can’t quite match. It is best to hold off on using any specials until your time is almost up. Try to accumulate as many as possible, since you’ll never know when one will come in handy. Gold coin specials are available in classic mode.
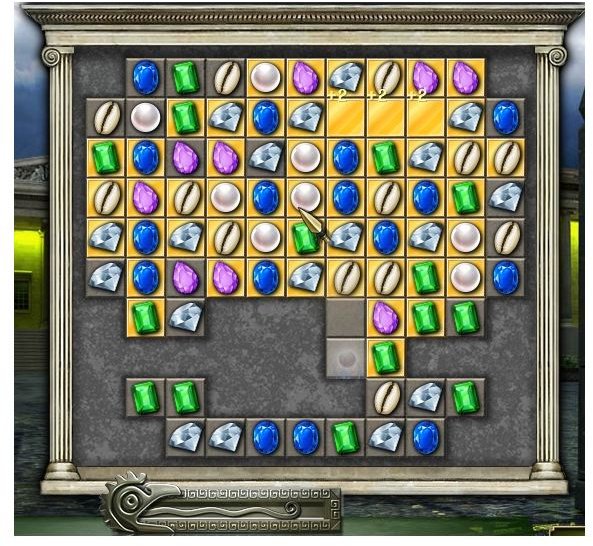
Silver Coins
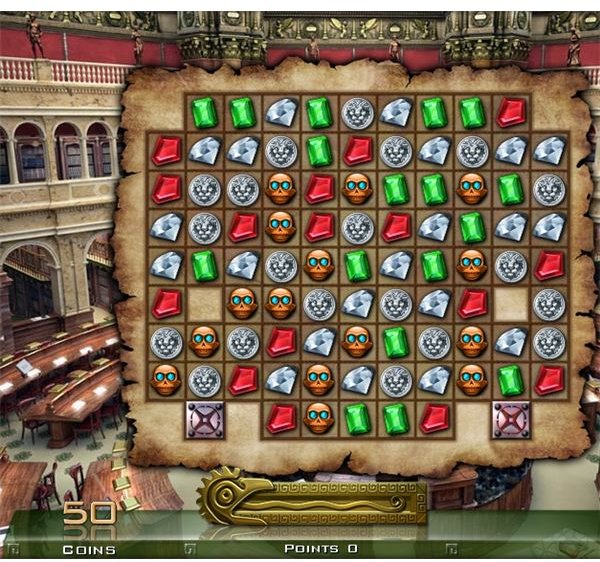
Silver coin levels require you to match a certain number of silver coins in order to remove blocks, which prohibit you from turning the entire board to gold. Once you make the required matches, the boxes empty and you are able to make matches in the spaces. All silver coins are removed from the board as well.
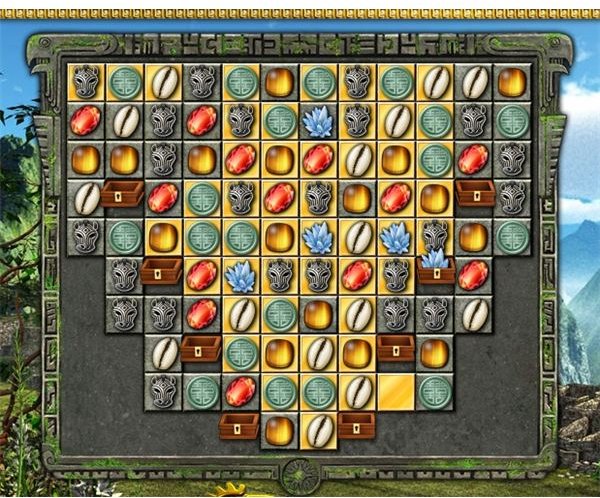
Blocked Spaces
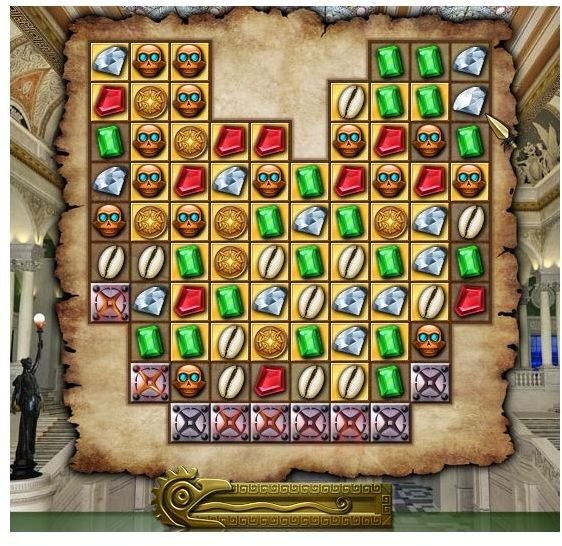
Similar to silver coins mode, blocked spaces mode has a number of blocked spaces. You must make matches of three or more special jewels. After every match you make, one block is removed. Remove all blocks and turn the board gold to complete it. Special jewels are removed from play when you remove all blocks.
Lock and Key
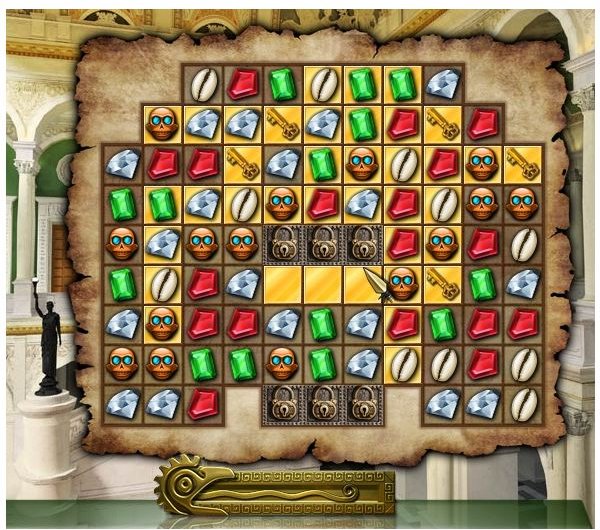
Lock and Key mode requires you to move keys through the board to unlock spaces. You can unlock the locks with a key placed on either side of the lock or on top of it. Once you unlock all of the locks, the keys are removed from play on your Jewel Quest Heritage adventure.
Buried Jewels
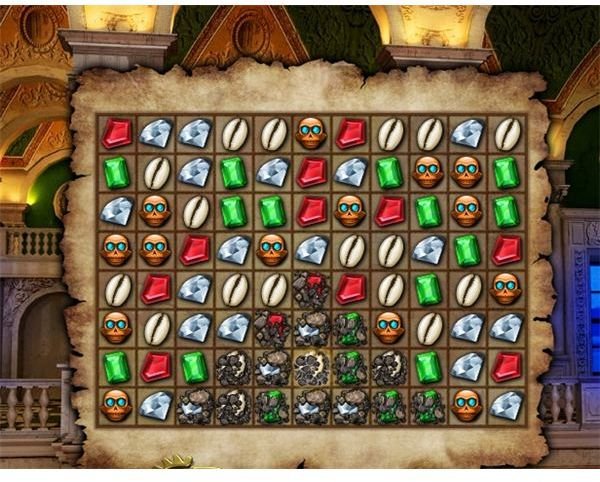
Buried jewels need to be matched twice, once to free them from the dirt and another to turn the space gold. You cannot move buried jewels until you have removed the dirt from them. Focus on matching those jewels first so you don’t end up racing against the clock at the end to not only unbury the jewels, but also turn all squares gold.
Ice Blocks
Ice blocks pose a new challenge to the game. Certain jewels are encased in ice. You must place a fire block next to one of the ice blocks to melt it, freeing the jewel for swapping. Fire blocks melt all ice blocks that they touch, meaning they can ideally melt three blocks at once. You may also move a fire block next to an ice block to melt it. This goes against the basic rules of Jewel Quest Heritage, that establish you must make a match of three to move any jewels. Once all ice blocks are melted, fire pots are removed from gameplay.
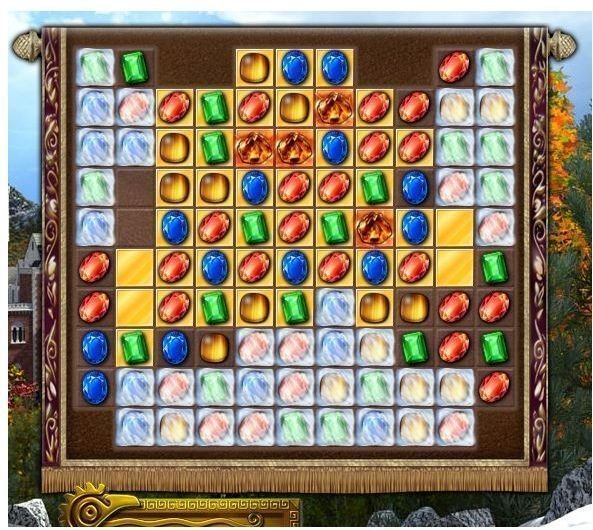
Limited Jewels
Limited jewels mode is one of the tougher modes in the game. The board has a pre-determined number of jewels and you must try to turn all spaces to gold only using those jewels. The creators make it a bit easier to progress through by including golden coins. This is the only game mode where you should be working from the top down. Once your jewels fall from the top, you can’t bring them back up. Make matches on the bottom with the jewels you have left by shifting them sideways when possible. Focus on making as many matches of golden coins as possible to get specials, which will cover spaces you missed.
Unswappable Jewels
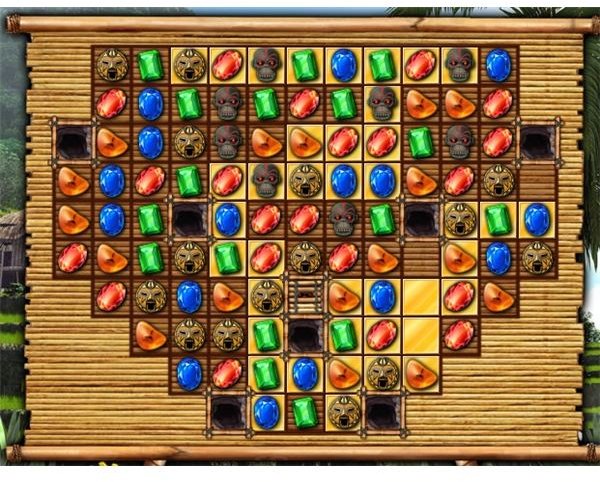
You may encounter unswappable jewels in any of the game modes. These jewels can not be moved, no matter what you do. The only way to get rid of them is to allow three to fall next to each other, which eliminates them, or force them to the bottom where they fall off. Luckily for you, these jewels make limited appearances on your quest to continue through the Jewel Quest Heritage walkthrough.
White Pearls
White pearls are necessary in some levels to access areas that are not connected to the main board. White pearls disappear when you match three of them together, but when they reach the bottom of the board they create another space directly beneath it, extending the play area. White pearls remain in play during the entire board and may become a nuissance if they create spaces where you don’t need them. If too many white pearls get close to one of those areas, try to match them together.
Delicate Jewels
Delicate jewels are something else you encounter as you go up the family tree and first make their appearance in Jewel Quest Heritage. Delicate jewels need to be placed in protective holders, scattered through the gameboard. They break if they are placed next to other delicate jewels. Beware, even if you place jewels in protective holders, they are susceptible to breaking if another delicate jewel falls on it. You must place a delicate jewel in each of the holders to complete the level, along with turning spaces gold.
Monkeys
Monkeys are my least favorite part of the game by far. They are a nuissance on the board. When you intentionally make a match of three monkeys, the gold spaces will turn back to plain spaces and you will have to make matches on them again. You must also fill each cage with a monkey in order to pass the level. Be careful of putting monkeys next to cages that already have a monkey in them, because a monkey in a cage can be part of a match three, which frees the monkey and leaves a cage empty. If you have to match monkeys to get them out of your way, do it closer to the top of the board where it isn’t as hard to make matches.
Clock Jewels
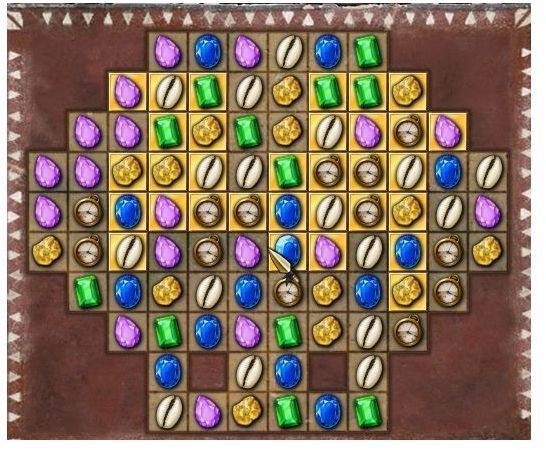
Get ready to move fast with levels that contain clock jewels. You must turn the game pieces gold, just like you need to in every level of Jewel Quest Heritage, but the timer moves much faster than you’re accustomed to. Make matches of time pieces to add time to your clock.
Crows
Crows are worse than the monkeys because they serve absolutely no purpose whatsoever. They fall in your play area and block possible matches. They also turn your gold spaces back to the original color if you intentionally make a match. Try making matches under the crows to get them to fall into matches, eliminating them from the board and saving you a headache.
Exclusive Jewels
The exclusive jewels mode gives you a variety of jewels but only the diamond jewel matches turn your spaces to gold. You can make other matches to get the exclusive jewels into place, but they have no bearing on turning the board to gold.
7 Uncommon Jewels
The final challenge is six boards with 7 uncommon jewels and a true test of your skills. You don’t get any specials here and it is difficult to find matches. Many times I have found that I get an error that there are no matches left and need to restart the board, as opposed to running out of time. Complete these final boards to finish the Jewel Quest Heritage walkthrough and consider yourself a Jewel Quest champion.
Wrap Up
If you are having difficulties on a specific level, try skipping down to the next one or go to a different character. Come back and try the level again in a few hours or another day. Also, if you fail a level too many times you will get an option to get more swaps or more time to complete the level, but it will cost you bonus points. When you complete this Jewel Quest Heritage walkthrough, go through the game in expert mode. The challenges are harder with less swaps, more unswappable jewels and less time. Then go ahead and continue on to Jewel Quest: The Sleepless Star, the fifth one in the series for more match 3 fun.