This comprehensive guide to PvZ gives players step-by-step instructions on how to beat each level in Stage 1. The guide tells you the best tips and strategies on how to set up your plants in order to kill zombies quickly and effectively.
An Introduction
Plants vs. Zombies , Popcap ’s newest hit, offers a creative and fun twist on the classic tower defense game. Zombies are out to storm your house and eat your brains, and your goal is to keep them from making you their next meal. You do this with the aid of clever little plants that each have a special power that are sold to you by a man named Crazy Dave. He has a great stockpile of goods for you, and he’s willing to sell them at a reasonable—and sometimes unreasonable—price. PvZ contains five total stages, and each stage contains ten levels where you do battle with invading hordes of undead. This particular guide will provide a thorough walkthrough of stage 1. Please be aware that this guide will container spoilers, and it does not provide the sole means of beating a particular level. Many strategies may work for a given board.
Stage 1-1
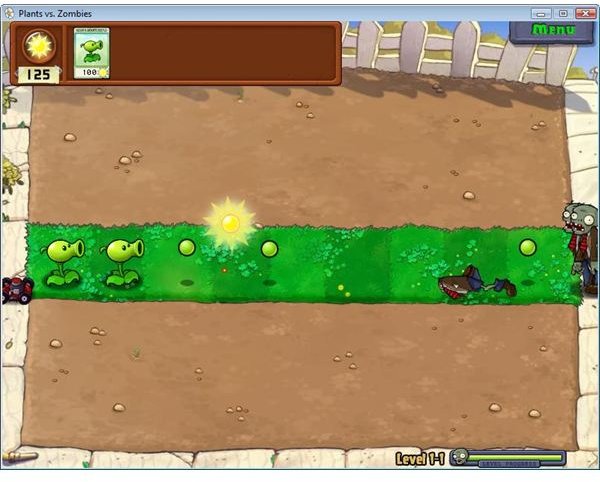
Stage 1 levels are designed to teach you the game and introduce you to new plants one at a time. The first board is simple. You have one row that you must defend, and all you have to defend it with is a Peashooter. The zombies on this board are extremely weak. Simply put down a Peashooter as soon as the board starts and wait until all the zombies die. You will receive a Sunflower at the end of this board. This plant allows you to create more Sun , which is your currency that is used to buy everything in this game.
Stage 1-2

In this stage, you are defending three rows from the crazed zombies that want to gain access to your house and eat your brains. The lawn mowers on the far left side of the screen will mow down one set of zombies should they get through your defenses (or if you have no defenses), and then that row will now be vulnerable to any invading undead.
I always leave the first two columns empty, and that is where I place all my Sunflowers for the game. Three Sunflowers will make more than enough sun for you to beat level 1-2, but I usually go ahead and put down six. You want to put down two as fast as you can in the same row, and you should be able to do that before any zombies show up. Then, keep collecting sun until you hear the first zombies show up. If you
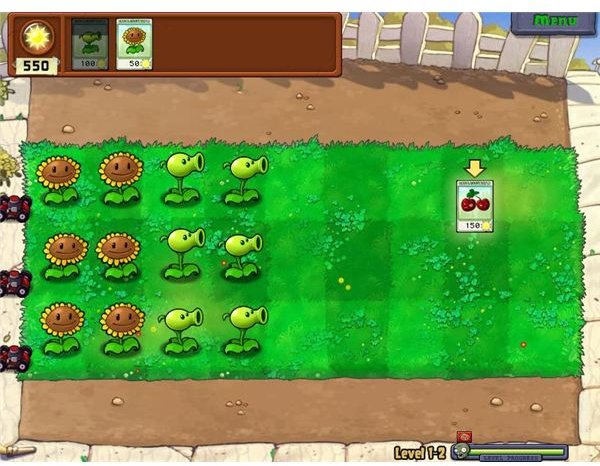
have 150 suns at this point, you can go ahead and put another Sunflower down in a new row. As soon as the first zombie shows up, plop a Peashooter down in row 3. The Peashooter will be able to destroy any zombie as long as you have not waited until it is already in row 5. Keep collecting sun and put another Sunflower in the same row as your third one. At this point, simply put down a Peashooter whenever you can afford one and make sure that all your rows have at least one peashooter. The zombies are all weak at this point, so you should be able to defeat them easily.
At the end of stage 1-2, you will receive the Cherry Bomb. A Cherry Bomb will blow up anything in all the blocks surrounding the block where you plant it. It costs 150 suns and can save you in a pinch.
Stage 1-3
In this stage, a new zombie shows its ugly face. The Conehead Zombie has additional hitpoints until you knock the cone off its head. A Peashooter might be able to kill it if you already have one down before the Conehead Zombie gets on the board. I recommend at least two Peashooters to take them down steadily.
Follow standard procedure at the beginning of this board and put a Sunflower down in column 1 in any row. Get Sunflower #2 down in the same row as fast as you can. Then collect suns until you have at least 100. At this point, your first zombie should show up, so drop your Peashooter in row 3 where the it appears. The conehead zombies will not appear until the end of the second wave or the beginning of the third wave, so you have plenty of time to build up defenses. Quickly drop one more Sunflower in any row, and keep collecting suns until you have at least 125. Then you can safely drop your 4th Sunflower next to your 3rd one. Again, put all Peashooters in column 3, and fill up column 1 and 2 with Sunflowers. Once you have six Sunflowers, you will have plenty of sun with which to build your defenses. Put down two columns of Peashooters. Columns 3 and 4 work nicely because it gives your Peashooters plenty of time to destroy any zombies that come your way. Feel free to Cherry Bomb some zombies if you get bored. Try to use them in row 2 so that it achieves its maximum area of effect.
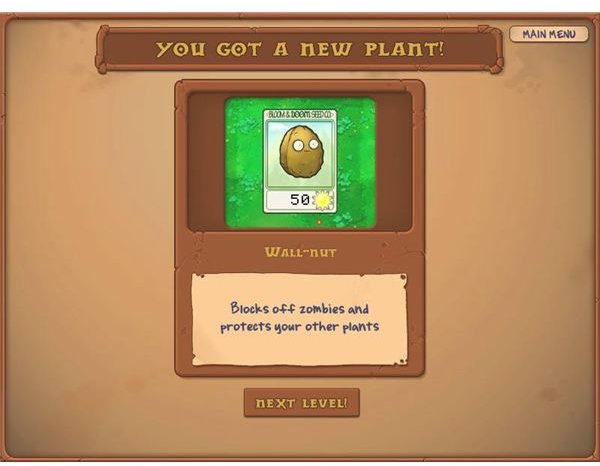
At the end of this stage, you receive the Wall-nut. This is your first passive defense system and is used to block the progress of zombies. Zombies find Wall-nuts delicious and will stop to chomp one until it is gone.
Stage 1-4
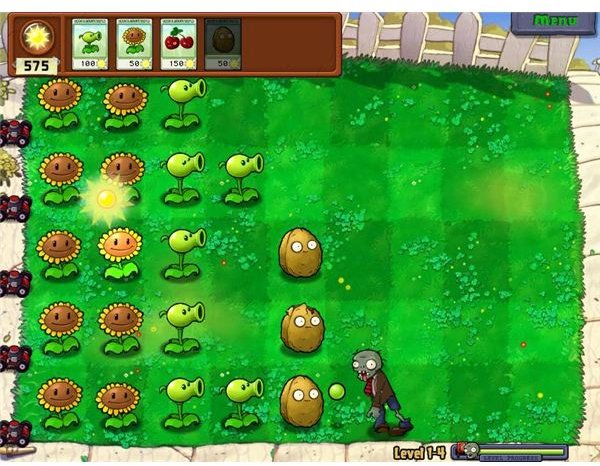
In this stage, you are now playing with the full field, so a total of five rows are now open to zombie attack. Again, you still have the lawnmowers to help defend, but once those are gone, that row is extremely vulnerable. Use the standard opening procedure with the Sunflowers. Put two down in any row and start watching for zombies while you collect sun. Set up your Sunflowers in column 1 and 2, and leave room for your Peashooters in 3 and 4. I tend to set up my Wall-nuts in column 6 in order to leave room for more offense, but setting them up in column 5 is fine as well. The zombies should fall pretty quickly in this board, especially if you are able to get all ten sunflowers down and three columns of Peashooters. Your Wall-nuts will likely not even be touched.
At the end of this stage, you receive the Shovel. The shovel allows you to dig up any plants that you have already planted. This can be a vital asset in later stages.
Stage 1-5
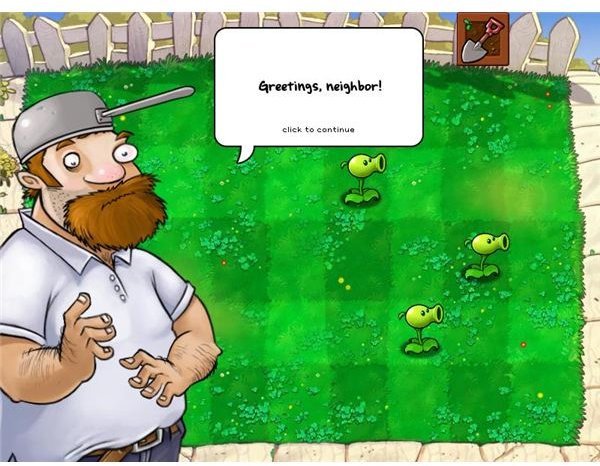
In this stage, you meet Crazy Dave for the first time. He tells you to dig up three Peashooters that have been randomly planted on your lawn. Dig them up, and he teaches you how to play a Bowling game with Wall-nuts. He places Wall-nuts in your palm and instructs you to knock down all the zombies.
You will have to release the wall-nuts to the left of the red line. They will travel in a straight line and knock down the zombie in the row from which it was released. Do not start bowling immediately. You need to practice knocking down several zombies with one wall-nut. Thus, wait for several zombies to hit the lawn. Two will be out in front, but you have plenty of time to knock them down and build a surplus of wall-nuts. Once you have a nice screen full of zombies, let the wall-nuts fly! I usually start in row 2 or 4 to see where they bounce, and I usually hit two or three per wall-nut roll. Save the red wall-nuts for when you have a huge horde of them. The red wall-nuts behave like cherry bombs and will blow up everything within one block of where they detonate. Rinse and repeat until you kill all the zombies.
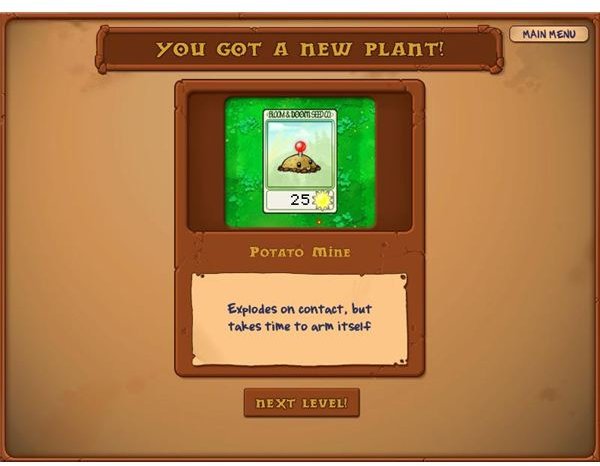
You receive the Potato Mine at the end of this stage. This is an extremely valuable defensive weapon , though it takes some time to arm. The Potato Mine only costs 25 suns and kills any zombies that step on it instantly, including the coneheads and the pole vaulters.
Stage 1-6
In this stage, you encounter the Pole Vaulting zombie for the first time. This guy jumps over plants, including Wall-nuts, and he has more hit points than the average zombie. You will not see him until the end of the second wave or the middle of the third wave, so you have some time to build up your defenses.
Use the standard Sunflower planting strategy and build up a column of Peashooters in column 3. Go ahead and start setting up Wall-nuts in column 6. This will slow down any normal zombies and have you start the process of making the pole vaulting zombies vault early. This gives you time to shoot them more thoroughly. You will want to get your ten Sunflowers planted and get your second row of Peashooters into column 4. You will want to begin using potato mines as soon as you can. I usually plant them in a row right behind the attacking zombie in column 7. This will give the potato mine to arm before the next zombie comes along. Potato mines are incredibly cheap. They cost only 25 suns, and you can use them to help guard your Sunflowers until you are able to put down your secondary Peashooters. Give the mines plenty of time to arm, or else they will just get eaten by invading zombies before they can destroy any.
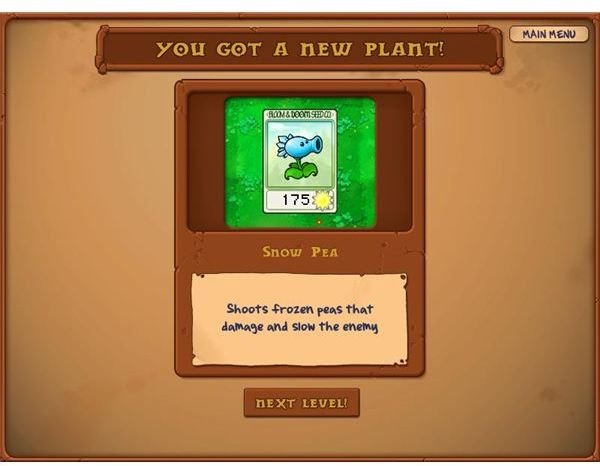
You will receive the Snow Pea at the end of this board. This plant is vital for any true defense because they slow all zombie movements, including eating Wall-nuts, to a great degree. Stack this with a Peashooter, and your defense just got twice as good.
Stage 1-7
In this stage of Plants vs. Zombies , use the same strategy as the previous stage but instead of a second column of Peashooters, save up and start putting in Snow Peas. Snow Peas cost 175 suns, so it will take some time to get them all planted. Feel free not to start putting them in until you see the coneheads appear, and plant the Snow Peas as needed. You can use the much cheaper Wall-nut to slow progress until then, and do not forget to plant your Potato Mines early. Do not attempt to put your Snow Peas in until after you have put down your Peashooters. Snow Peas shoot slower than the Peashooters, so you need to make sure that you have the Peashooter firepower. You will want to stack your Snow Pea with a Peashooter in the first row where a Conehead zombie shows up. The combination can kill Coneheads without the aid of a Wall-nut.
After you beat this stage, you will receive Chomper, a zombie chomping flytrap-like plant. Chomper will eat any one zombie who comes near instantly regardless of type (at least at this stage). He does, however, take some time to digest the zombie, so he is vulnerable to attack while he as a zombie in his mouth. You will see a zombie arm hanging out of his closed mouth when he is “full”.
Stage 1-8
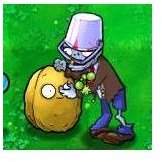
Buckethead zombies begin showing up at this stage. These zombies have five time the hit points of a normal zombie because they are wearing a metal bucket as a helmet. Luckily, they do not begin showing up until the third wave, which gives you some time to build up your defenses. Defense with Wall-nuts is incredibly important on this stage because Bucket zombies will plow right through most shooters. For the first time, you will have more plants than you have slots, so you will have to make a choice. For me, I left out the Cherry Bomb and included Chomper because the Chomper/Wall-nut combination is something that you learn to use frequently in later stages. I rarely use Cherry Bombs early because I usually save them for emergencies.
Start as we always do with two Sunflowers being planted in the same row. Then save up for your first Peashooter to quickly drop the row where the first zombie shows its face. Plant Sunflowers behind that Peashooter, and keep building your offense. When you can, put down potato mines and give them time to arm themselves. I usually put them in column 7, and the Wall-nuts go in column 6. The last wave in this board will bring three or four zombies at a time, and this is more like the rest of the game. Use the Peashooter and Snow Pea combination to destroy the zombies effectively. I put a Chomper behind every Wall-nut as additional defense, and then I just watched the zombies get mowed down or eaten.
At the end of this board, you will receive the Repeater. (I laughed myself silly over this one: rePEAter) This powerful plant costs 200 suns and sends out a double shot of peas for additional firepower. This plant is extremely useful at a later stage in order to quickly destroy zombies.
Stage 1-9
I used my standard line-up for this board: Sunflower, Peashooter, Snow Pea, Wall-nut, Chomper, and Pootato Mine. I laid out my board exactly like the one in Stage 1-8:
- Column 1 - Sunflowers
- Column 2 – Sunflowers
- Column 3 – Pea Shooters
- Column 4 – Snow Peas
- Column 5 – Chompers
- Column 6 – Wall-nuts
Column 7 – Potato Mines
Use the same strategy as in previous stages to set up your initial offense and protect the Sunflowers. With 10 Sunflowers you will have plenty of sun in no time.
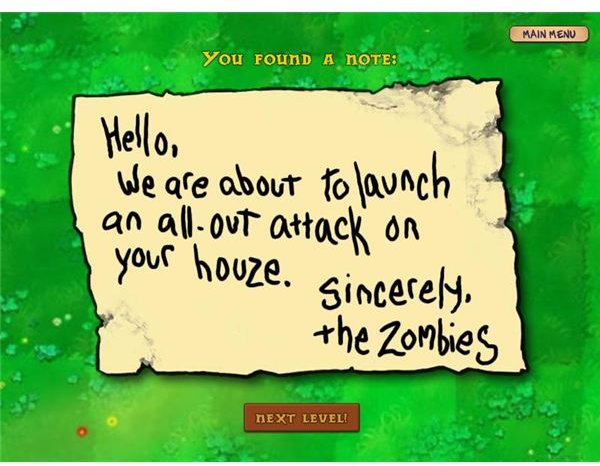
At the end of Stage 9, you receive your first threatening note from the zombies. They are showing signs of intelligence!
Stage 1-10
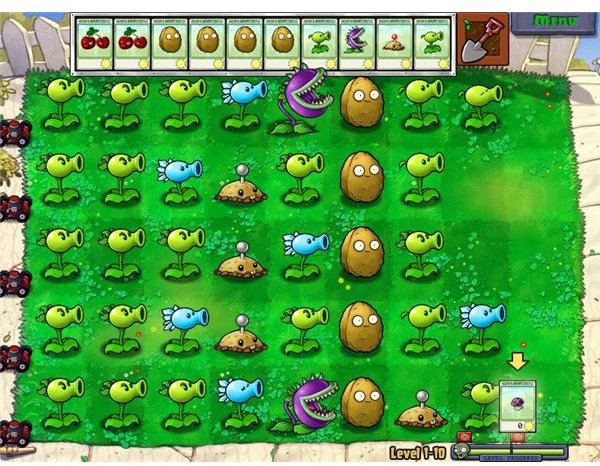
Stage 1-10 of PvZ can be extremely easy or extremely difficult. A conveyor belt at the top of the screen sends you Doom and Gloom seeds to plant one at a time. You will get the following plants: Cherry Bomb, Peashooter, Repeater, Wall-nut, Snow Pea, and the Potato Mine. You will not have to deal with any Sunflowers this stage since you will only be able to plant what comes down the conveyor belt. The nastier zombies will show up earlier in this stage.
Do not start planting haphazardly, or you may find yourself overrun early in this stage. Simply bide your time until the first zombie shows up, and pick either a Repeater or a Peashooter to put down. The first zombie will be a plain zombie that is easy to destroy, so do not worry yet. By now, you will probably have a seed backlog on your conveyor belt, so begin putting down mines and Wall-nuts. I put the Wall-nuts in column 6 to give myself plenty of room for offense. Keep in mind that there will be vaulters, so you may want a row of potato mines behind your Wall-nuts as well. Feel free to put your Wall-nuts in column 7 if that is the case. You will want one Snow Pea in each row, but the Snow Peas can be rather slow to show up. In the rows without Snow Peas, double up on Repeaters and Peashooters. As this stage progresses, you will soon have more seeds than you can utilize. Simply dig up Peashooters with your shovel and put down Repeaters. Use the Peashooters as fodder in front of your Wall-nuts.
At the end of this stage, you will receive the Puff Shroom. This plant is vital for night stages, and they cost no sun. Congratulations on completing Stage 1!
This post is part of the series: Playing Plants vs. Zombies: A Guide to Beating All the Levels
This detailed guide has tips, hints, and strategies for beating every level in Plants vs. Zombies. This guide is designed to be used by people who need a little help to win specific stages.