Help Guybrush Threepwood out as he searches for the missing golden artifacts that will lead to a cure of the Pirate Pox in the epic pirate PC action adventure game, Tales of Monkey Island: Siege of Spinner Cay. This walkthrough will definitely help you out on your quest for truth and glory.
Repairing the Screaming Narwhal
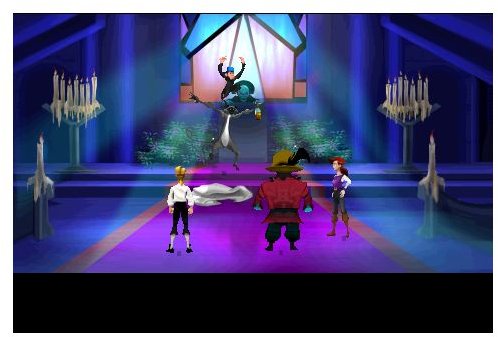
When we last left off, Guybrush Threepwood has reunited with his wife Elaine and found out about the Pirate malady caused by the voodoo magic of the former Ghost Captain, Le Chuck. Unfortunately, while Le Chuck is cured, his malady seems to have spread to every other pirate in the Caribbean. It’s all up to Guybrush now as he makes his way to search for the missing artifacts that could lead him to the Esponje Grande.
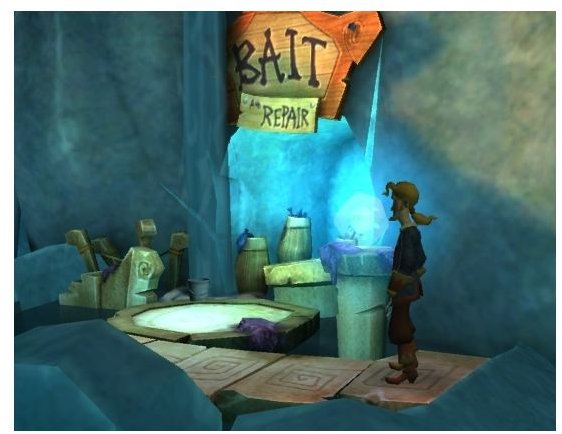
Now make your way out of the Royalty Chamber and to the tunnels located at your right side., Head upstairs and to the Bait and Repair Shop where once again, you’ll talk to Anemone. Anemone will repair your mast for you. DOn’t woory about payment, as Winslow will take care of that matter. Aside from the mast repair, Anemone also runs a bait shop. However, he informs you that at Spinner Cay, they do not accept any forms of currency but coupons. We’ll get those later. For now, try picking up that bucket by the waterfall before heading down.
Vacaylian History
Once your back down, head to the split in the middle of the path. This will take you to the Spinner Cay library where the Librarian Tetra will be more than happy to lend you books and educate you about Vacaylian history. You’ll also be happy to note that De Cava has spent a great amount of his time here. Tetra informs you that Vacaylians were merpeople who uses advanced technology to be able to fashion legs from their fins as they made their way to land centuries ago. It is also this same technology that allowed them to sprout back their sea legs and yes, even self heal. The library that he’s guarding is actually a historical building and has been preserved for future generations.
If you want to, you can borrow a book from Tetra. You can pick from books about Vacaylian History, romances or something hot and steamy (I tried it and really, its just a book about the motion of the ocean and the passing of the waves) but at this point, its really not relevant to the game, so just head on to the docks and give your pass to Anemone.
Murkel and Killick
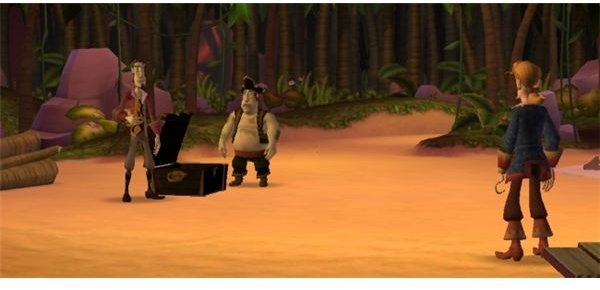
Once you’re aboard the raft, head on off to Spoon Isle where, by the beach you’ll meet McGuillicutty’s henchmen Murkel and Killick. Murkel and Killick are tasked to bury the animal artifact but unfortunately, are having a hard time deciding who gets to do what. So instead of actually doing their job, they’re both standing by the beach arguing about who gets the privilege of burying the sacred aritfact. Take this opportune moment to sneak in your pyrite parrot into the treasure chest by engaging the two in a staring contest (there are other options, in case you want to try them out but if you want to get on ahead with the game, just select this one) and then distracting them by pointing out to something on the beach.
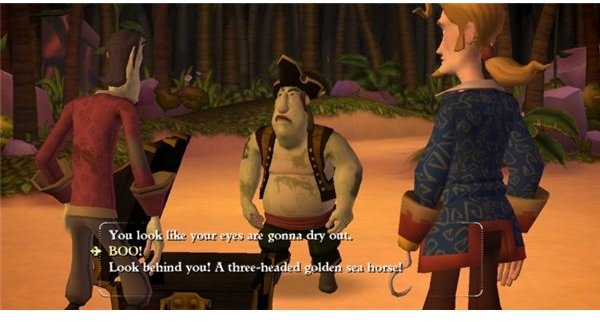
This will invariably lead them to stare off at opposite sends of each other and away from the chest.
The Search for the Seahorse
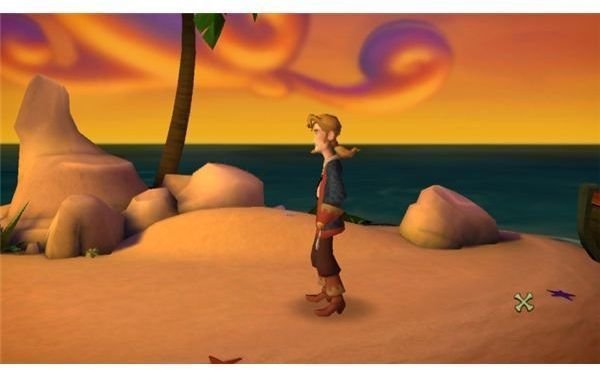
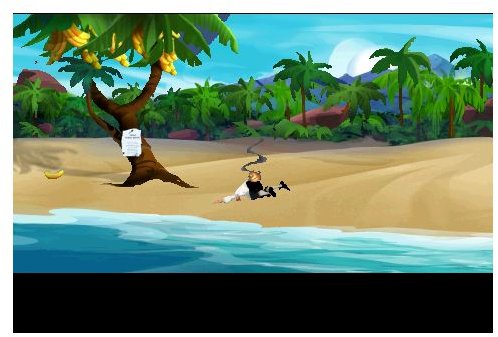
Once done, they’ll leave the isle and set off to bury the treasure. All you have to do now is explore the three islets in the map with the Screaming Narwhal and listen for the sound of the Pyrite Parrot. There are three islets you will be travelling to, the Isle of Ewe (which sounds like I love you and has a rather amusing scene with Windslow), the Boulder Beacha and Brillig Island.
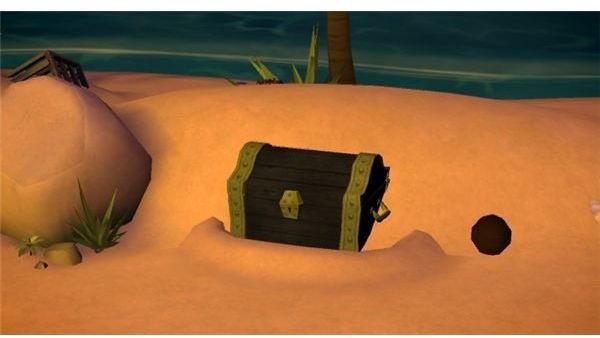
For mine, I found the parrot in Brillig Island. I’m not sure if the location changes, but try it anyway. Anyway, the islets are really small and won’t take much of your time. All you’ll really have to do is search for the Pyrite Parrot’s squawking sounds. Listen closely, dig up the treasure and head back to Spinner Cay.
De Singe’s Involvement

Before we head back to the game, a custscene is necessarry. So let’s focus our attention on Marquis De Singe and Morgan Le Flay. Remember her? She’s the one who did away with Guybrush Threepwood’s cursed hand! It seems that the cursed hand is not enough for De Singe and once again, he commissions Le Flay to engage with Guybrush Threepwood. Unlike the former encounter when all that was needed was Threepwood’s hand this time however, he needs to be taken in alive.
Of course, Morgan gladly agrees to the new contract in exchange for quadruple the former reward money. Tsk tsk..
This post is part of the series: Tales of Monkey Island: Siege of Spinner Cay Walkthrough
The articles in these series comprise of the guided walkthrough for PC action adventure Pirate game, Tales of Monkey Island, Episode 2 Siege of Spinner Cay