Meet the Robinsons is a PC adventure game patterned after the popular Disney movie, Meet the Robinsons. The game itself happens just before the movie starts with Wilbur trying out the time machine. This walkthrough will guide players around the game itself.
About the Game
Meet The Robinsons is a 3D action-adventure game developed by Buena Vista Games and based on the Disney animated film of the same name. You control Wilbur Robinson as he goes through his various misadventures, which serve as a prequel to the movie. The game was released on several platforms, including the GameCube, Playstation 2, Wii, Xbox 360 and the PC. You can expect to see several of the film’s wacky characters to appear in the game, such as Carl the robot, other members of the Robinson family, and of course the scheming Bowler Hat Guy and the vengeful invention Doris.
The game has several missions stretched over 6 different locations in the time-space continuum. While using Wilbur, you will have access to nifty gadgets such as the Disassembler and the Charge Glove. Gameplay is pretty much straightforward; getting through various obstacles, beating up crazy robots, typical fanfare for a time-traveling son of a genius inventor. Nevertheless, this guide is meant to aid you just in case you get stuck in a rut, helping you in staying true to the movie’s motto of “Keep moving forward.”
At the Beginning
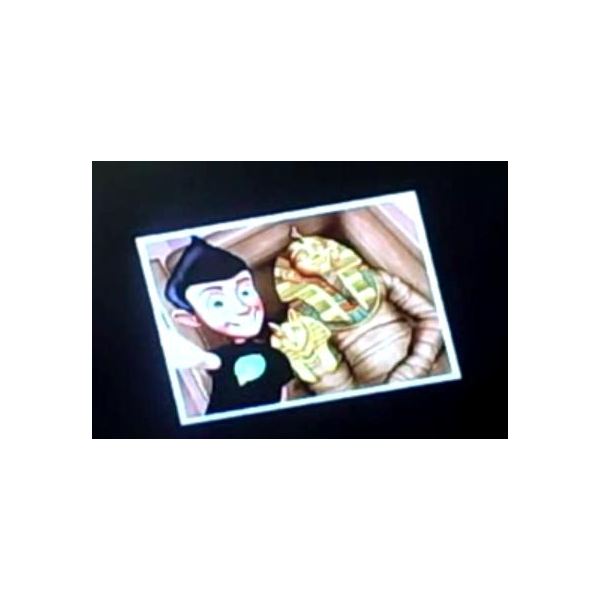
The game starts in King Tut’s tomb, where Wilbur used the time machine (against his father’s wishes, of course) to go back in time and take a snapshot of him and the dead pharaoh. After taking the precious picture, the tomb starts to collapse. This is where the game teaches you about movement, as you navigate Wilbur through the collapsing tomb. You will be jumping over obstacles, going up ladders, and walking on ledges while listening to Carl’s whining.
As soon as you gain control of Wilbur, just head straight and step on the pressure plate (a classic platform-game device) to open the door. Go through it before it closes. Keep going straight until the in-game tutorial window pops up, teaching you about vaulting. Go straight until you reach a hallway. Another pressure plate, another door. Same deal as the first one. When you go through the door the game will teach you about jumping (which is basically automatic). Run and jump through the gaps until Wilbur falls. Don’t worry, you’re really supposed to fall.
Ancient Egypt
Go straight until you see a ladder and climb it. If you haven’t noticed, sand is quickly filling the room so you have to move fast. Run to the right until the in-game tutorial system teaches you how to walk on ledges. Read fast, because sand keeps pouring in as you read. Walk on the ledge to the right, keep running, and then walk on another ledge. Proceed until you reach a bridge with a gap you’ll jump over. An in-game tutorial window will pop up, instructing you on how to pull yourself up from a ledge. Pull yourself up and head into the hallway.
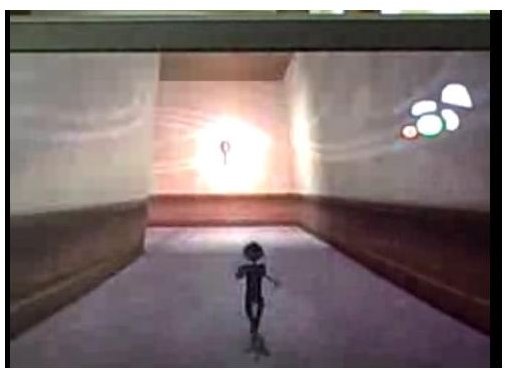
Open the door using the pressure plate at the end of the hall and enter the room. This is where you’ll be taught about grabbing, by a pop-up tutorial window of course. Stand near the statue, grab it, and push it on top of the pressure plate and the center. Run towards the open door at the end of the room. Proceed through the hallway until a cutscene shows a giant statue head collapsing. Keep running (towards the screen) to avoid the rolling head until you reach outside, where Carl appears with the time machine to get you out of Ancient Egypt. Now give yourself a pat, you’ve finished the first level.
The Robinsons’ House
After watching the cutscene (which basically has Carl and Cornelius warning Wilbur about tampering with time and space), you’ll be taught how to use the Mission Screen. Read the tutorial pop-up, familiarize yourself with the screen layout, and then exit.
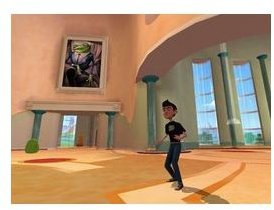
You’ll find yourself in the Robinsons’ living room. Go and talk to Franny Robinson, a.k.a. Cornelius’ wife and Wilbur’s mom. She’ll tell you to take out the garbage, but that someone has changed the code for the garage. She’ll then send you off to the Lab to talk to cousin Laszlo and ask about the code. A pop-up will appear, teaching you about the map. Use the map to locate the Lab.
While heading there, a pop-up will teach you on how to call Carl for help. Take the teleporter to Wilbur’s room which leads to the Lab. Laszlo will be there, marked with an X on your map.
Meeting Laszlo
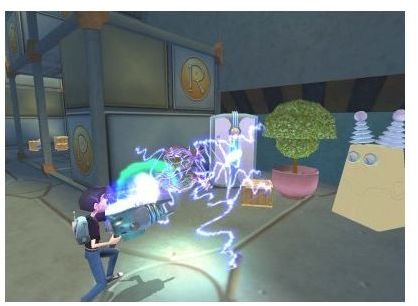
Crazy cousin Laszlo will tell you that you need a scanner to find out who changed the garage code. You will receive the blueprints for the scanner. Use the teleport pad to get into the storeroom. Here you will see your first gadget, the Disassembler. You will need this to grab parts for the scanner you have to build. Find a way up the crates to reach the Disassembler (there are various ways to reach it).
Once you grab it, tutorial windows on the Disassembler and targeting will pop-up. Practice targeting and using your newly acquired gadget on the crate. Keep on disassembling stuff in the warehouse until you have 10 of each of the required components.
When you have 10 of each component, head back up the tube to the Lab and use the Transmogrifier. Will all the necessary components, you will be able to make the scanner. Once you make it, a tutorial pop-up will on the scanner will appear. Cousin Laszlo will then tell you that he will reward you for any interesting scans you may find (strangely, he uses them in his paintings). Your first scanning target will be Laszlo himself. Go ahead and scan the other things in the Lab: The Bird, The Organ, Transport Tube, The First Invention, The Cupid, Carl, Machine of Possibilities, and the Transmogrifier. Now that you have the scanner, you can now check out the garage keypad.
This post is part of the series: Meet the Robinsons Walkthrough
This is the walkthrough for the Disney PC adventure game, Meet the Robinsons!