It’s time to deal with Armored Sentries and Robot Guardians in the PC adventure game, Meet the Robinsons. Learn the nooks and crannies of the game as you zoom past enemies and reach your goal with the help of this walkthrough
Round and Round We Go
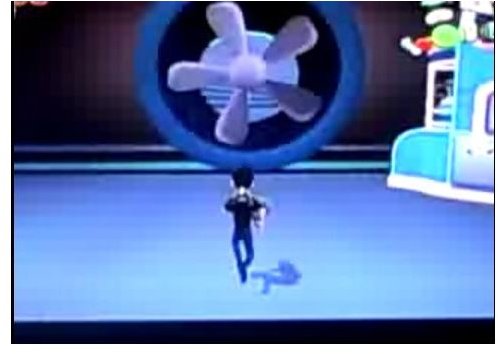
Once you’re off the circular lift, you’ll see a giant fan. Disassemble it and enter the air vent. At the end of the vent is another fan, disassemble it was well. Exit the vent and you’ll see the time machine. Walk the ledge to go to the other side to find another vent. Blast through the fans and drop down the next room. Here you’ll find a Robot Sentry. You may scan it before zapping it to oblivion with your Charge Glove. After dealing with that Robot Sentry, nearby termnials will active two more sentries will come. Destroy the terminals and the new sentries will go down too. After which, the force field will drop and you may proceed. You may want to heal using the aid station before moving on. Enter the hallway and you’ll see a power box at the end. Disassemble it and a ladder will appear. Climb it and get going!
Climbing Up
Once you’re on top, zap the Lev Turret in front of you and disassemble the fan to your right. Go through the vent to find another power box at the end. Disassemble it to activate another ladder. Climb it quickly and zap the Lev Turret at the top. Keep going forward until you reach another room full of laser scanners. There’s a fan to the left, break it. Beware of a Camera Bot and 2 Lev Turrets inside. Zap them to smithereens and break the fan inside to reach a chest with concept art. Exit the vent because it’s a dead end. Go back to the previous room, where there are three power boxes. Open then all, and now you have to use the Alternate Mode of your Charge Glove to hit all three power boxes. The lasers on the other side will be deactivated for a short time, so quickly run over there and enter the vent.
The Tunneling Roads
You’ll find yourself in another tunnel, disassemble the fan and the grate. When the grate is zapped it falls down, letting you walk on it. Once you enter the large room, scan the two different kinds of yellow circles. Disassemble the other grates so they’d fall down and you can jump onto them. Drop down the third grate and walk the green pipe until you reach a ladder. Climb down and you’ll see a door and a power box. Open the box and zap it to open the door. Beware of 2 Camera Bots and 2 Sentry Bots that will come out. Deal with them. Before heading into the door you just opened, go to the other side of the room. Zap the panel to form a temporary walkway. Cross it and destroy the Camera Bot and the sentry. You’ll see a water dispenser, so disassemble it and a maintenance bot will come out. Enter the door where the maintenance bot came from and climb the ladder. Disassemble the fan to find a chest. Open it to receive the blueprint for the Bowler Hat Cheat!
Fun at the Basement

Go back to the previous room with the door you left open. The lift will take you down another large hall full of Camera Bots (you’re probably thinking that this is one big basement). You’ll encounter a new enemy: the Armored Robot Sentry. Scan it, Disassemble it first to take out its armor, then zap it with your Charged Glove. A pop-up will remind you of the Long Shot capability of the Disassembler. There’s a platform near the center of the room. From there, use the Disassembler’s Long Shot capability to take out the Power Box of the laser scanner by the door. Zap it once it’s open to deactivate the laser.
Dealing with Armored Sentries
Proceed to the laser’s location and zap the power switch. This will activate a walkway. A force field will form, move around to avoid it. You’ll encounter a Camera Bot who will again summon one of those annoying Armored Sentries. Zap the next power switch and leave the force field. Next, you’ll need to use Alternate Mode to hit the following switches to proceed. Deal with the enemies then activate the switches. Proceed and you’ll find a lift, but before that, some crates that you may add to your scan collection: Robinson Soda Pack. After scanning, continue.
Battling Robots the Robinsons Way
Take the lift to proceed, where you’ll find more annoying robots. Zap them to smithereens so you won’t be troubled while you move crates around, which you’ll need to do to proceed and to reach some chests. The chests contain some components and Uncle Art’s VR disc.
Continue and you’ll find the usual Camera Bots, but if you haven’t noticed all they summon are Armored Sentries now, no longer normal ones. Deal with them and hit the switches. Follow the path to the tunnel to find more enemies. After defeating them, scan the Maintenance Door Generator and the Time Lab Maintenance Door.
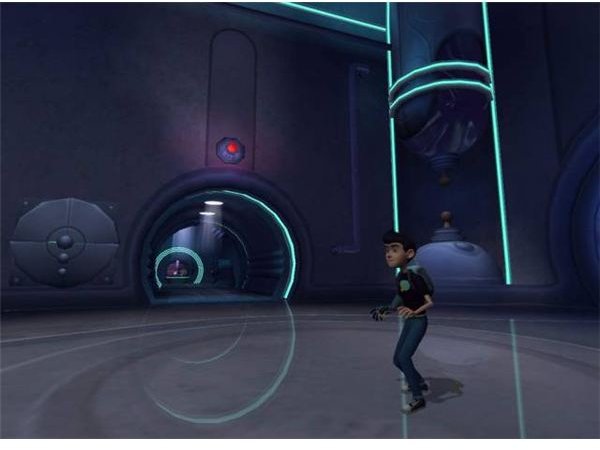
Enter the door on the left. Keep dodging (or rolling, since that’s what it looks like) to the other side of the room to avoid the lasers. Zap the Power Box at the other side and enter the door. Inside are more enemies. Destroy them, then scan the Generator Lens at the middle. Use your Charge Glove at it to power up the maintenance door. Use the transport tube in the room to return to the maintenance room. Enter the newly opened door, and keep dodging (rolling) like you did in the previous room. But this time, stay away from the Lev Turret. Charge the Power Box and enter the door.
Blast all enemies in the next room and zap the Generator Lens to open the other side of the maintenance door. Take the transport tube back and be ready for a boss battle.
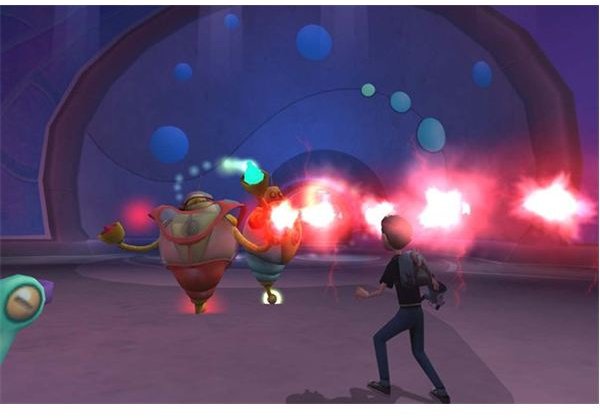
Battling the Robot Guardian
Yay, a boss battle. But before you start zapping this tin can to kingdom come, you might as well scan it first. Robot Guardian XL, now at least you know what to call it. If you scanned every possible thing in the basement, you should receive an action figure for completing all basement scans.
Now to defeat this boss, there are three stages. First stage would have you zapping one of the generator lenses with your Charge Glove, making sure the colors match while avoiding the boss’s laser fire. The second stage is similar, only this time the lenses are not charged initially and now you have missiles to avoid as well. Keep dodging incoming fire while charging up the lenses. The final stage will require you to disassemble the covers from the lenses first. Once you’re done with that, it’s like the second stage all over again. Once you zap the last lens, congratulations, this stage is over!
This post is part of the series: Meet the Robinsons Walkthrough
This is the walkthrough for the Disney PC adventure game, Meet the Robinsons!