Check out the guided walkthrough for La Pucelle Tactics on the Playstation 2 (PS2) Console. This part of the walkthrough will deal with the first chapter of the game.
About the Game
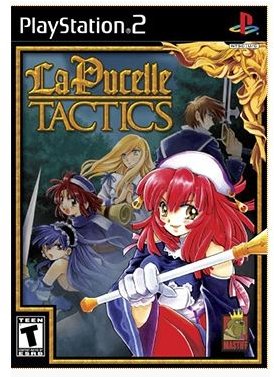
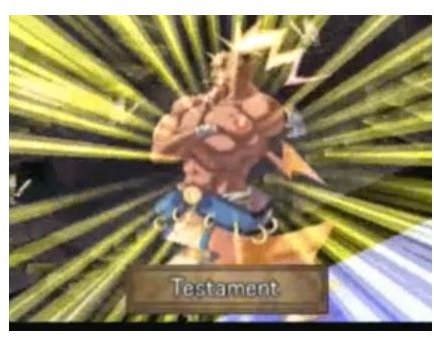
La Pucelle Tactics, released in North America in 2004, follows your basic grid turn based RPG games where a set of characters which you control have to clear area by area in order to finish the game. Now as a quick overview your main character here will be Prier, her brother Colette and their superior, Alouette. Along your journey more and more story characters will join you each with their own strengths and weaknesses. Working for the Church of the Maiden of Light, your job is to purify the evils of the world and win the usual battle between good and evil.
There are 12 chapters, with various endings for some chapters and with outcomes ultimately deciding the way you end the game. Now, as a whole La Pucelle isn’t a grinding game, but with the option to train and relive the areas you’ve completed as well as the option of the Dark World, it isn’t unlikely that hardcore gamers (and addicts such as myself) will want to beef up their characters so much that it doesn’t need much of a struggle whenever you fight off your enemies. Choose however way you wish to go, this walkthtrough will only guide you per area of every chapter and alert you of what will happen and the possible repercussions of each step you make. That being said, let’s get ready to become the Maiden of Light!
Chapter 1: On the Job Training
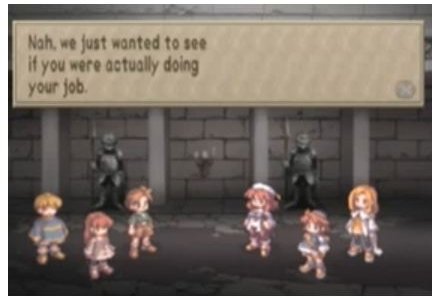
This is where you’ll learn to familiarize yourself with the controls, and actions of the game. The areas you’ll encounter is actually pretty cut and dry with each level trying to explain a different aspect of the game that you will surely need to learn and hopefully master. Most of the NPCs you talk to will be pretty useless, sometimes though they will provide hints and bonuses to the game, so I highly suggest interacting with them every time you clear a chapter (or sometimes an area).
For this chapter, head on to the Orphanage and talk to one of the orphans there to receive the precious amount of 1 Prica. (Or not if you think its inconsequential). Then head on to the Devil’s Stomach for your training sessions.
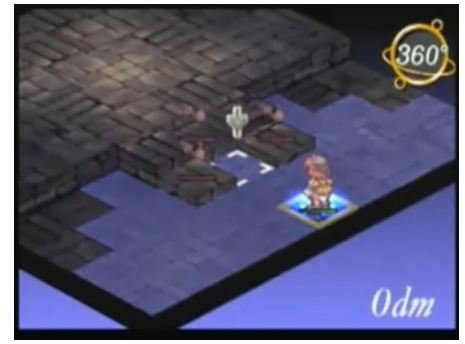
The first training mission will have 3 bats at your disposal. Obviously, this will be a cinch but for the beginners take a second to actually understand the tenets of the game as its your foundations that are really important.
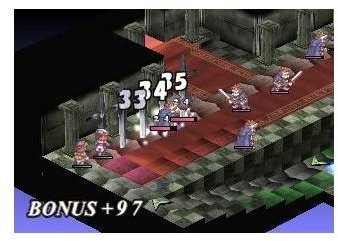
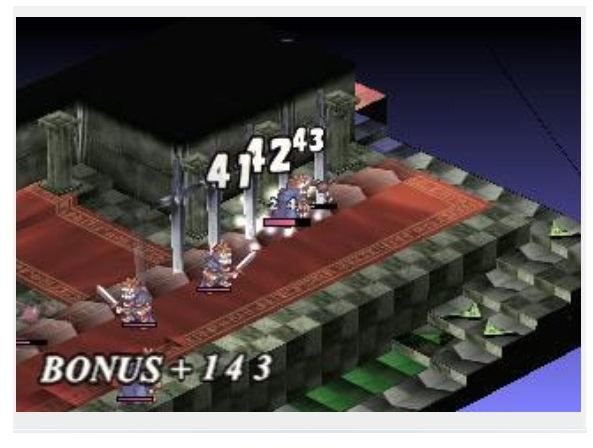
The second mission will have four bats this time. This is will also be the first map you’ll encounter with the option to purify portals. I suggest purifying the portals as they give bonus pricas and of course will beef up your experience with regards to purifying. Remember, purification is your friend and it will do you well to learn how to successfully perform a purifying action.
The Devil’s Stomach
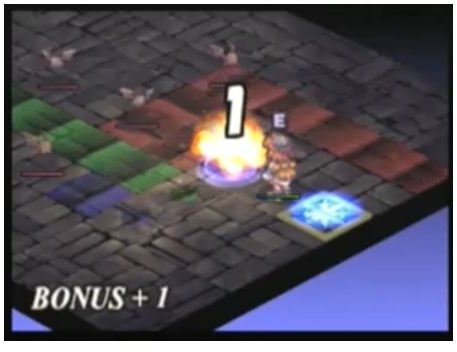
The third mission is actually the first mission of the game as the first two are “training” per se. Here you’ll learn the useful skill of purfying your enemies. Yeap! In this game, you can actually convert enemies (the monsters at least) to your side. Where they will eventually join your team. 4 bats and 1 zombie, and although slightly stronger than the bat, a zombie is still pretty weak.Before we go on ahead, a little tip to give to you players is the wonderful help that the world map offers. Every single time you finish an area and return to the world map, all your characters’ MPs and SPs will be restored.
While I know that there are actually two areas for your to choose from, this walkthrough will point in the most feasible direction, so for the next area, please head to the Grave of Fools where you will learn how to convert bigger monsters (essentially this means, you might require a stronger purification power and/or more than one player or turn to purify an enemy) The 4 bats will be easy and its actually the Big Zombie that you’ll set your purifing and heavier abilities on.
Fighting Zombies

The Zombie here won’t be moving, and if you’ve followed the game to the letter (which you’re actually forced to at this point) you’ll have a Bat on your side. This Bit Character (oh you’ll get what I mean when you play) will be your pawn, so to speak. Enemies as a whole, will go for the weakest character in your team first, ALL THE TIME. So use that knowledge to your advantage.
The Hall of the Dead
The next area is the Hall of the Dead, where you’ll be learning how to perform miracles. Try and go to Rosenqueen and buy materials, as well as hopefully hitting the survey (pick 3X on purification). A little tip, don’t bother with your monsters, unless you really want to. The important characters are your main heroes. Beef them up!A little grinding will go a long way in RPGs, remember that.
Now at the Hall of the Dead, you’ll be given the chance to perform a miracle. Miracles are basically portals that you’ve purified (that are enclosed and taking up more than a certain number of tiles) Miracles are great because once you execute them, the character who perform the miracle will have their items level up according to the strength of the miracle.
Supposedly, you’re required to take out one of the zombies first to perform this miracle. I suggest equipping yourself with a change up first and have either Alouette or Cullote do it, with Prier performing the miracle. This will wipe out your enemies in one blast, level up your items and earn you mondo pricas in the process.
The Real Battle
Now, its time to move to the Caretaker’s Room, where you’ll encounter your first event tile. There are a total of 6 enemies (bat:2 zombie:3 big bat:1) Depending on how you want to do this (although I really suggest beefing Prier up) maneuver your way around the map, (using the high levelled items you acquired from the previous miracle) and take out the zombies. If you want a smooth game, I suggest going back to previous areas and training first. Make sure you weakest character is at least 5 levels stronger than the area’s strongest character (or that your characters are at least double or more than double the levels of your enemies)
Before you end the lives of your enemies, clear the event tile first by stepping on it to unlock a previously locked area inside the Devil’s Stomach.
Montblanc Castle is where you’ll actually start to feel the heat of battle scars and what not as the training wheels come off completely at this point. Your companions will suggest going back to Town first, follow that advice. Once back, talk to NPCs again and stock up on items or weapons you might need in the battle ahead.
Remember to Heal
If you’re confident enough, go and play the area - or you could level up. A great way to level up is to go to a weaker area, and kill your fellow teammates. Make sure though that when you engage in friendly fire, you’re strong enough to fight the actual enemies on the map. This sort of training will result in two things: a faster way to level up and having the dark energy level in that particular area rise higher to the point that higher levelled monsters will replace the weaklings you would occassionally encounter.
That being said, begin Montblanc Castle at the Hall of Justice will hopefully high levelled characters already in your roster. I say this because stronger characters make the game easier to complete and won’t have you wasting needless time pressing the restart button when you lose. 4 bats and 1 zombie will wait about you, don’t forget to purify to earn more pricas. Don’t forget to take advantage of character positions and of course, the special skills that they have. At this point, the strongest skill you’ll have is probably Prier’s Coup de Grace.
The Birdcage
The Birdcage will introduce a new enemy - the Will o Wisp which actually deals elemental damages to your characters. Behind it is an event tile. Strike that first before you finish the area, otherwise you’ll have to repeat it again.This event tile will reveal the ghosts of a mother and child trapped in the castle, their captor and what’s happening in Montblanc. If you’ve followed my advice and did some grinding beforehand, you’ll have no trouble taking out your enemies. Remember to always use your skills as much as possible as you need to level them up as time goes on.
Halls of Truth and Courage
At the Hall of Courage, you’ll find a glowing red tile you’ll mistake as an event tile. It’s not. What that tile is, is a portal to the next area so don’t bother going there as you will have to anyway. 5 enemies this time, with one of them a Big Bat. So no sweat.
Onto the Hall of Truth, have one of your characters (preferably Prier as her movements are considerably bigger than the rest) activate the event tile behind the suit of armour. You need to do this, in order to understand the chapter and attain the Good ending for this chapter.
Ending Chapter 1
After the cutscene, finish off all the bats in the area before heading to the Throne Room for a final confrontation.
Having understood what is actually going on, you’re probably even more motivated now to take out Oseille and free the family trapped in the castle. Now Oiselle is a level 5 monster, so if you’ve done the grinding, a lvl 5 monster should be nothing by now and you’ll be agble to end the first chapter with ease, grab the good ending while bagging 2000 prica and a bonus item in the process.
This post is part of the series: La Pucelle Tactics Walkthrough for the PS2
Complete the PS2 adventure turned based RPG called, La Pucelle Tactics. This walkthrough will guide you.